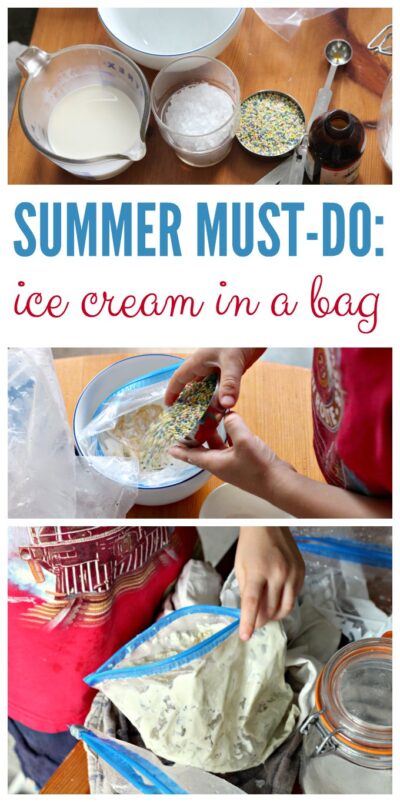
When you think of summer treats, what's the first thing that comes to mind? Ice cream, of course!!! A fantastic old school summer activity is making ice cream in a bag! When I was a kid we had this huge electric ice cream maker that we set out in the back yard and filled it full of ice and rock salt and it was such a treat to be make homemade ice cream. No store bought version compares. It was time to make ice cream with my own kids. But you don't actually need any fancy equipment.
If you've ever wondered just how to make ice cream in a bag, my kids and I are here to show you how to make this delicious science experiment! It's an absolute must-do summer activity!

After we were done making ice cream in a bag my 6 year old declared,
This is the best science experiment ever!
It certainly is the most delicious.
(Note: I included affiliate links to items we used)
What You Need
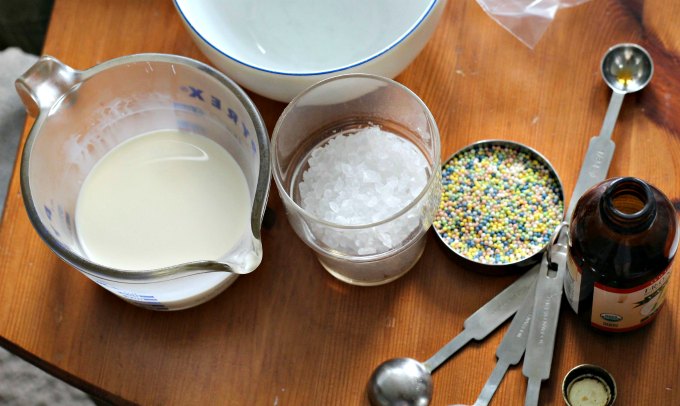
- Zip top freezer bags in two sizes. I used quart and gallon.
- ½ cup half and half (you can also use heavy cream, or full fat milk, or part cream and part milk). I also understand that coconut milk works, but we have not tried that.
- Ice
- ½ cup ice cream salt (also known as rock salt)
- ½ tsp vanilla extract
- 1 TBSP sugar
Optional:
- Sprinkles. We used Let's Do Organic Sprinkelz because I eschew chemicals in food. India Tree is another popular brand.
- Favorite toppings.

Instructions for Making the Ice Cream
(Note: further down the post, you can watch the video instructions.)
Fill the gallon sized plastic bag with ice (about half way).
Pour in ½ cup salt into the gallon sized plastic bag along with the ice. (Note: You will NOT be eating the salt.)
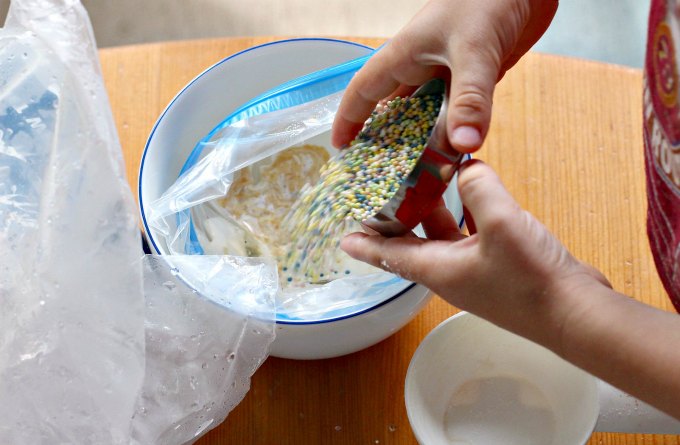
To the smaller bag, add half and half, sugar, vanilla, and any add-ins. Press out as much air as possible. Close bag.

TIP: Place bag in a bowl when adding ingredients.
Place smaller bag in larger bag. Adjust ice so that it surrounds smaller bag. Press out air. Close bag.
Toss, shake, jiggle, smush, and dance!
TIP: We created a sort of sling out of a dishtowel, placing the cold, cold, cold (brrrr) bag in the towel and gathering the corners at the top. Then we could shake the bag, holding the corners of the dishtowel. You can see that in the video below. Much easier!
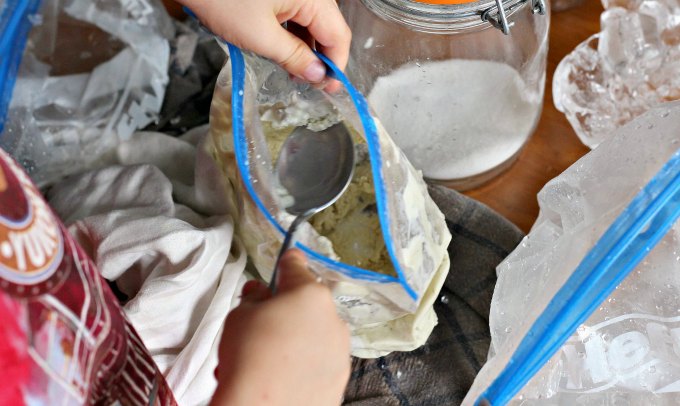
After about 5 minutes (or longer, depending on the dedication of your kids) check the ice cream. Shake more if needed until desired consistency is achieved. (This photo is not that great, but you get the idea.)

Eat straight from the bag, or spoon into a bowl and add toppings.
Need a little more guidance with the instructions for making ice cream in a bag? Watch the exciting action in this how-to video!
The science behind making ice cream in a bag:
The salt added to the ice lowers the freezing point of ice, causing the ice to melt (we used this same phenomenon in our ice cube on a string experiment). The melting ice absorbs heat, thus making the space around the ice cream ingredients to freeze at a temperature below 32 degrees. Water freezes at 32 degrees, but milk is not just water so it needs a lower temperature.
Want more summer science projects?


Michelle says
This is so perfectly timed as we are literally planning to do this today as part of our Pioneer Week Summer of Fun (a personal thing, not on the blog). I bought ice cream salt yesterday! I'm so glad to see that it's going to work. We're also going to try to make butter by shaking up a baby food jar with heavy cream.
Also, I'm still in love with your videos. I pretty much got everything that I needed from your text, but I knew the video would be worth watching and it was. 🙂
Erica MomandKiddo says
Oh, thank you for saying that about my videos. I honestly love making them so much! They take much more time than a simple post, but are so fun to make.
tamny says
How fun! We have never done this and now I am headed to the store to grab the ingredients. My 4 boys will love doing this. It will be a great family activity. Thanks for sharing.
Leslie says
This looks so fun!
Sue says
This was fun to read and I loved your video! Especially the end with the ice cream disappearing! If it were mine, you would have seen me lick the bowl! LOL
Erica MomandKiddo says
Ummm, I may have done that off camera! 🙂
Lori says
Do you have any ideas for non-dairy substitutes for the half and half? Looks like a great experiment, but we have a milk allergy around here...
Erica MomandKiddo says
Try a full fat non-dairy beverage. I haven't tried it, but let me know how it turns out!
Sara says
Hi, thanks for sharing.
For spanish readers, what is "half & half"?
Regards
Erica says
It is half cream half milk. You can substitute cream or full fat milk if you wish.
Cherilynn Delacruz says
media crema*
reamlente el Los Estados Unidos venden bajo de este nombre. tiene media crema y media leche entera. Estare cerca de lod cremadores refrigerada para cafe en la tienda.
Brina says
It was so good! Thanks so much !!!
Brina says
It was so good!