It's the third week of S.T.E.A.M. Summer Camp and this week the theme is the sense of smell. Truth be told, I had a bit of trouble coming up with something for this theme. I had another idea that didn't work out, but never mind, because as I explained in last year's DIY Summer Science Camp, failure serves to teach us to think like a scientist. But, building on my personal theme of old school activities (so far we've made thaumatropes and bead & string puzzles) I didn't want my kids to miss out on the thrilling experience of making homemade milk carton candles!
Although there is more prep time than my normal self can usually tolerate, it is quite straightforward and not very difficult. The boys even enjoyed it much more than I expected them to. I was quite delighted. It was a very successful science-craft project for us and we added in a stinky twist to fit our S.T.E.A.M. theme, "sense of smell".
One of the reasons I chose this smelly science project was because I remember enjoying making milk carton candles as a kid. In the 1970s every kid was required (required, I tell you) to bring a milk carton to school and make their own candle to grace the dinner table. Back then we made snazzy ice candles (you can see how to make ice candles here) but the boys and I used scented oils and crayons instead. (We like to be rebels, dontcha know.) (Note: I used affiliate links to the products we used below.)
How to Make Scented Milk Carton Candles
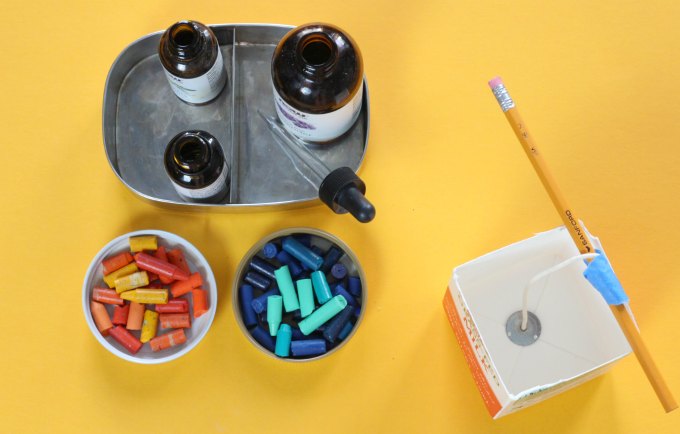
What you need:
- Clean milk cartons, cut to the desired height of your future candle.
- Wicks. You will want to use pre-waxed wicks like these, with a metal disc attached, or else you'll need bunch of other steps. And why have more prep than you have to?
- Soy wax chips<. We made three candles and used about half of a 5lb bag. (Guess I'll have to come up with another wax-based project!)
- Essential oils. (Never fear! I will not start peddling essential oils to you.) We used lavender, lemon and vanilla. While shopping I spied a bottle labeled "Panic Button", which I hoped I wouldn't need while working with hot wax and two rowdy boys.
- Tools for melting the wax. We do not have a microwave so I used a stainless steel bowl on top of a pot as a makeshift double boiler. Fancy people use a candlemaking pitcher.
- Optional: old, peeled crayon pieces.
Milk carton candle instructions:
Melt wax. My technique: boil water in a large pot. Reduce heat to low. Place stainless steel bowl on top of pot. Scoop desired amount of wax into bowl to melt. If you prefer to use a microwave, choose a waxed paper cup and melt slowly at low heat.
Use caution: only adults or responsible older children should be in charge of melting the wax. Wax is extremely flammable. Bowl and pot remain very hot. Use common sense and keep small hands away.
Good to know: wax melts at a low temperature, so you do not need a high flame. I could even turn the burner off for long periods of time once the water, pot and bowl were hot.
Add the scent:
Using a dropper, add desired essential oil to the melted wax. In our experience you need to use a few droppers to get a noticeable scent. Your scent may vary depending on the type and quality of your essential oil.
Prepare carton:
Place metal disc of wick on the bottom of the carton and wrap wick around a pencil or craft stick. Balance on opening of carton. I used tape to keep the wick more stable.
Secure the wick:
Pour a small amount of wax over the metal disc and let cool. Now your wick is secure in the carton.
Make the candle:
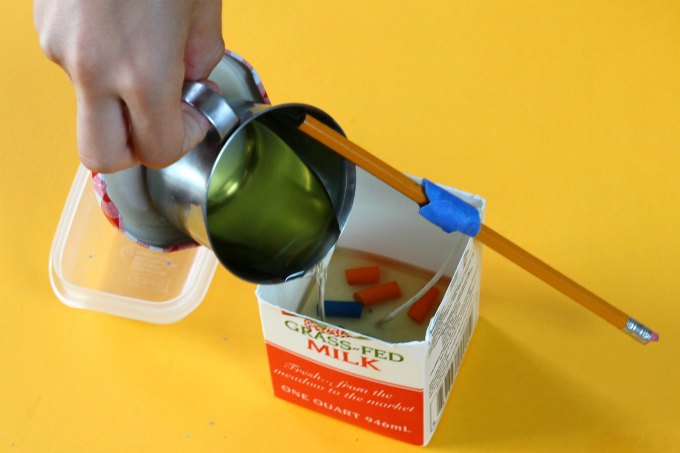
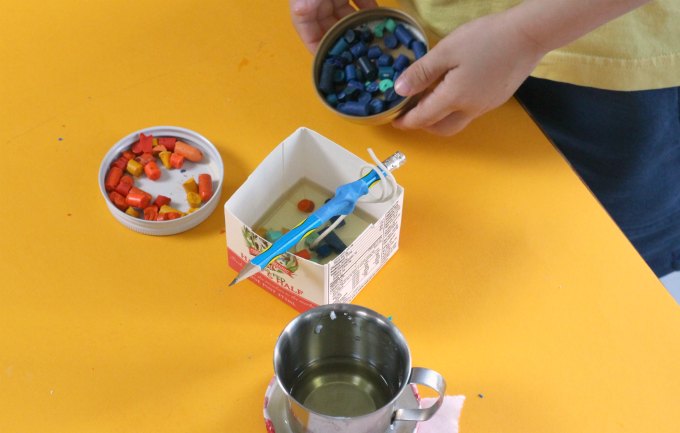
I scooped the melted wax into a small stainless steel mug and handed it to my kids to pour small amounts of wax into their carton. The mug handle remained cool this way and potential spillage would be minimal.
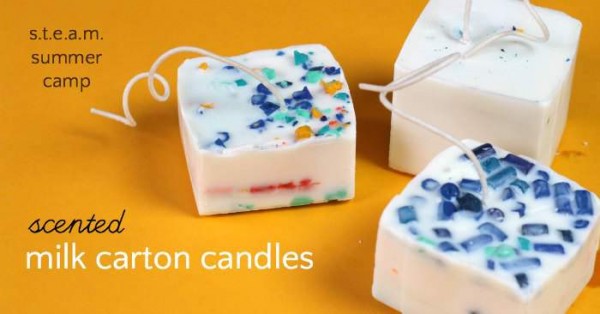
Make the candle in layers. We poured poured about ¼ inch of wax, added crayon pieces for color, let cool and then repeated this process until our candles were as tall as we wanted.
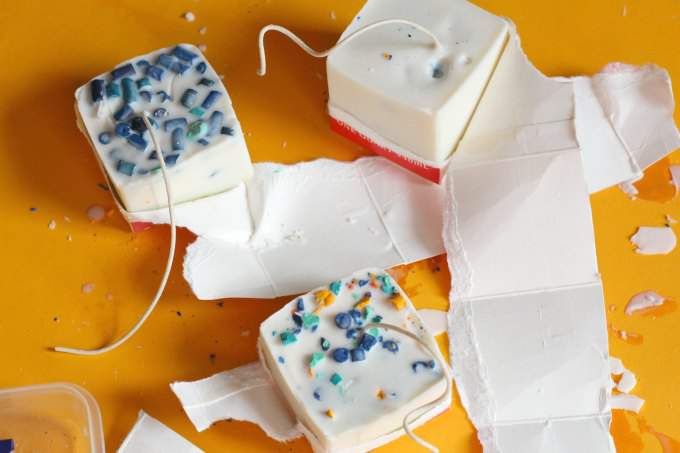
When the finished candle is completely cool, peel away the milk carton.
Trim wick to about 1 inch.
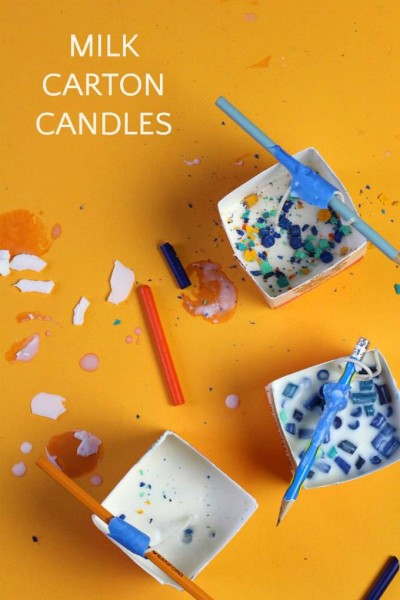
There you have it! Old school science with scented milk carton candles made by kids!
Enjoy your candlelit supper!
Clean up: If you place a mat on your working space, surface clean up will be quick. As for your melting materials, my bowl and cup are still covered in a layer of wax. I intend to have a new science session with the kids in which we investigate the best way to remove wax. So good luck with that.
See more of our science projects in video:
Want more 52 more STEAM activities? Get the free list, plus step by step instructions for 2 sample projects. Sign up here.
Stink the house up with more SMELLY experiments and projects from the S.T.E.A.M. dream team:
Left Brain Craft Brain | Nose Tricks: How Sight Impacts Smell
One Time Through | Spicy Process Art and Math
Babble Dabble Do | Lemon Volcanoes
Little Bins for Little Hands | Citrus Chemical Reactions






Sue Lively says
I haven't made candles with kids since I was a camp counsellor - but I'm sure my son would really enjoy doing this - especially since we started learning about bees recently and he was surprised that our candle was made of beeswax. Thanks for the fun idea!
Erica MomandKiddo says
It's such a classic camp idea!
Phyllis says
I have been wanting to make candles for awhile now. Yours turned out so beautiful, and I bet they smell wonderful. What science were you thinking about with regard to candlemaking?
Erica MomandKiddo says
Good question! Definitely, the way heat melts wax, cool air hardens it. The distribution of scent, how strong the scent is on its own in the bottle as compared to how strong/weak it is in a block of wax. Does burning the candle increase the scent?
Muria says
Another cool experiment that combines taste and smell is trying foods with your nose plugged. I'm intending to do it with my kids later this summer. It shows up in a google search for taste smell apples. Apparently, without your sense of smell, apples and potatoes taste very similar.
cool idea. Not sure where to get the milk cartons now that school's out, though. I'll have to keep an eye out for them! Thanks!
Erica MomandKiddo says
Our cartons were the quart size milk containers. Also, half and half comes in the small size, and sometimes orange juice. You should be able to find something suitable at your grocery store.
Rachel says
This looks like fun - I will add it to the science projects for my kids this summer. And I appreciate you not peddling essential oils on us too. 🙂
I so enjoy your blog - for the great book lists, the older kid ideas (instead of toddler stuff that is so much easier to find) and for your hilarious sense of humor.
Ana says
I'm crazy about these! I've wanted to make candles FOREVER and this looks like the perfect place to start!
Stephanie says
your Amazon link for the wax chips says they are intended for container candles, that is, candles that will be burned in a container. Did they work ok when you burned your candles? I worry these might turn so liquid they might be messy but if your experience is fien I wi buy the same. Thanks!
Erica MomandKiddo says
Hi Stephanie,
Thanks for asking. We haven't had any issue with our candles. I imagine because they are so wide. Be sure to put the wick in the center because the melted wax center is about 1 inch diameter (in our experience). I wouldn't use the wax for narrow candles, but the milk carton size has worked fine for us.
Jackie says
When I was a kid we made “frosted “ candled by whipping the wax as it cooled into a frothy white fluffy wax and then plopped out onto the candles in globs to create a frosty look to the outside. Also put Christmas scenes framed by the wax and held in place by the wax. Like a “glow candle”.
Erica says
How interesting!