What kid doesn't love the sensory experience of playing with shaving cream? Channel that joy into an easy art project and make marbled paper with shaving cream! This art project is a real treat and because kids will be focusing on the process of creation, there is no pressure!
Kids can make a mess and stir things up but the end result is always satisfying because the more imperfect the marbling the more beautiful the art.
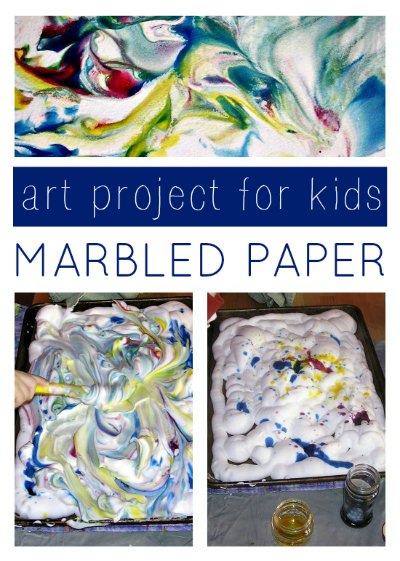
Materials for Making Marbled Paper
You will need to gather a few special materials that you might not have on hand, but the instructions are so easy and fun, it will be worth the small amount of preparation time! Note: this post contains affiliate links.
What you need:
- Baking pan. We used an old pan, but you could wrap the pan in foil to protect it.
- Shaving cream. You need the kind that comes in an aerosol can.
- Droppers. These pipettes are a staple in our art supply cabinet.
- Liquid watercolors, divided into small containers like bowls or old spice jars.
- Watercolor paper or heavy card stock
- Craft stick or plastic knife
- Spatula
- Something to protect your work surface, we used an cut up shower curtain
Instructions
Step 1. Fill a baking pan with shaving cream. Honestly, this might be your child's favorite part of making marbled paper!
Step 2. Using the pipettes, drop liquid watercolors all over the cream. We decanted a small amount of the watercolors into old spice jars so that it was easy to fill the pipettes. You can reuse the pipettes for this drip drop boredom buster.
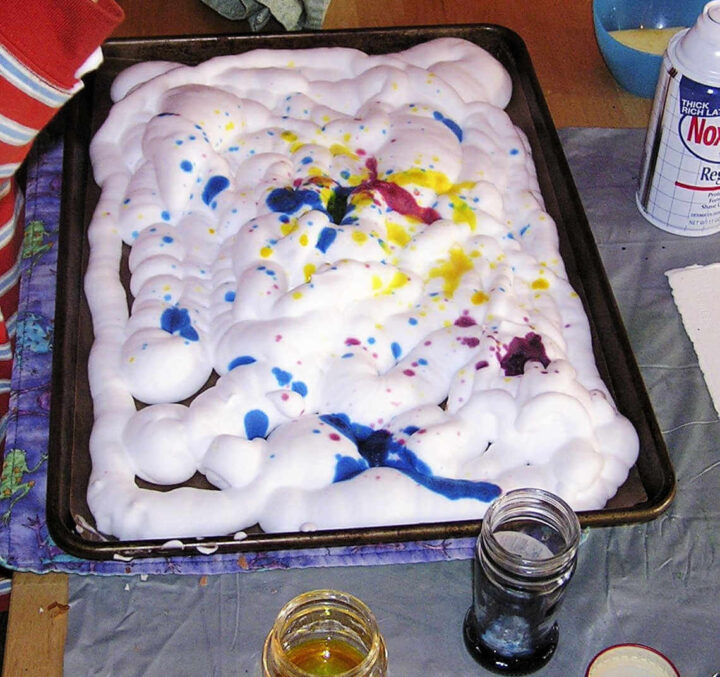
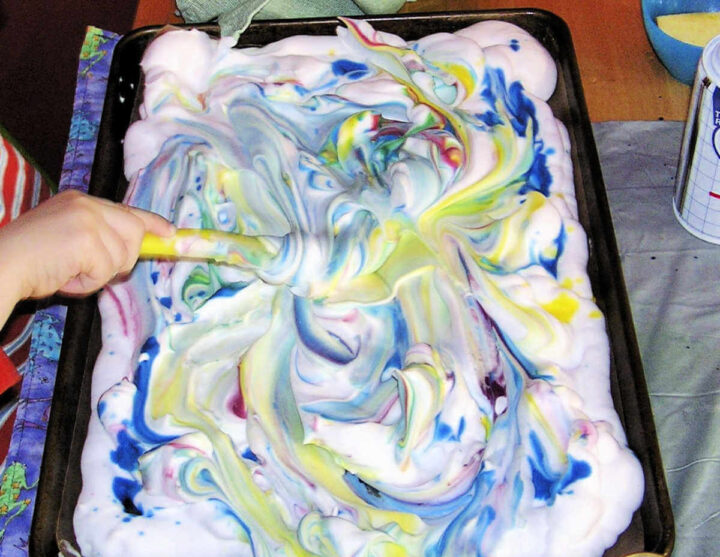
Step 3. Using a wooden craft stick or plastic knife, swirl, swirl, swirl. If you have used all three primary colors, you may want to instruct your that stirring, rather than swirling, the colors may just make a muddy brown mess. Or, just let it go and see what happens. Either approach is fine, really. Process not product, right?
TIP: Use the leftover shaving cream to make puffy paint!
Step 4. Take a large piece of watercolor paper and press it—or "smush", as kids say—on top of the shaving cream.
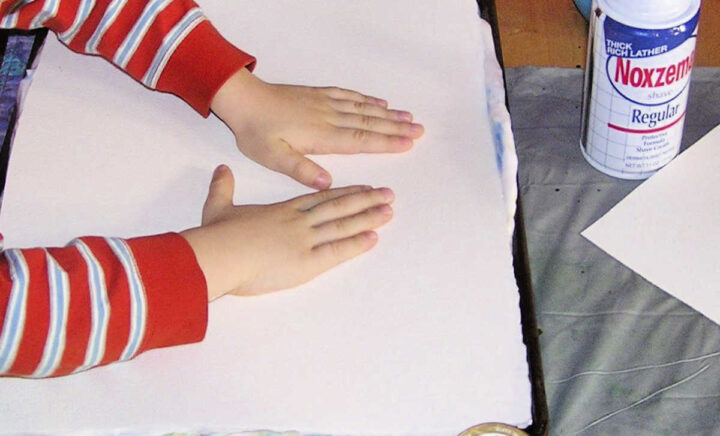
Step 5. Carefully peel back the paper and place it, shaving cream side up, on your work surface. Let dry for 10 minutes.
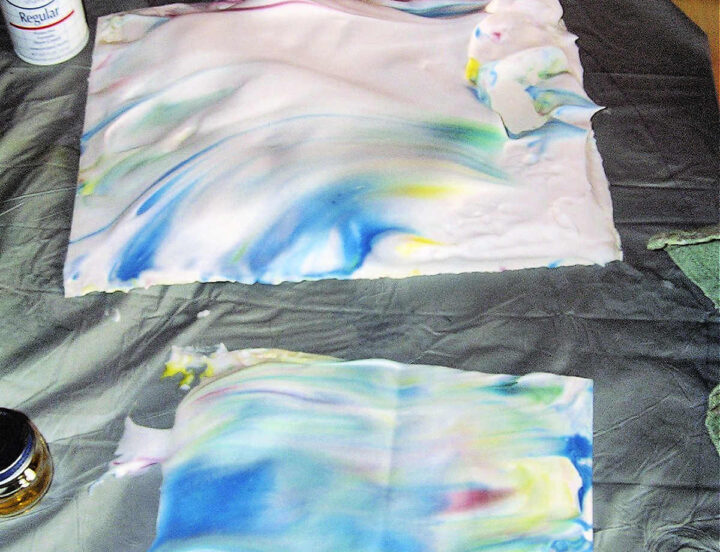
Step 6. Use the spatula to scrape the shaving cream off of the paper. You will quickly see why protecting your work surface was a smart move.
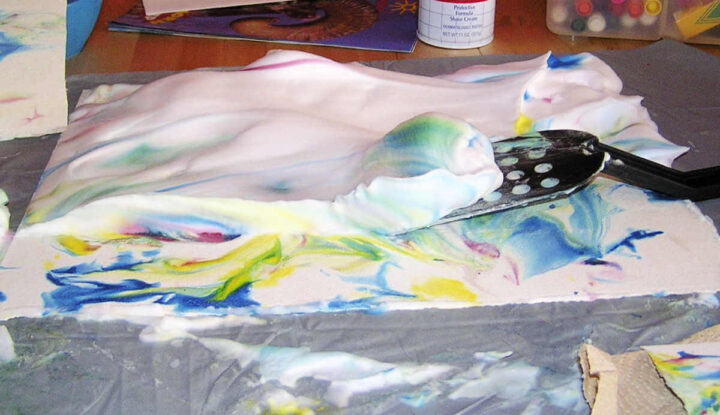
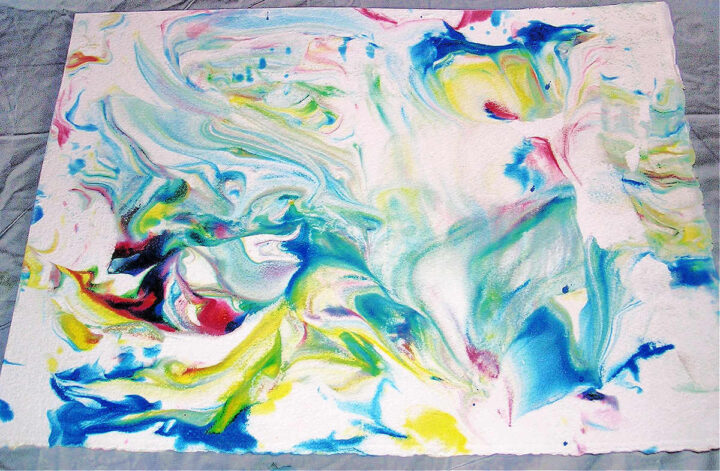
Step 7. The beautiful marbling will be revealed! Step back and admire your child's artistic genius.
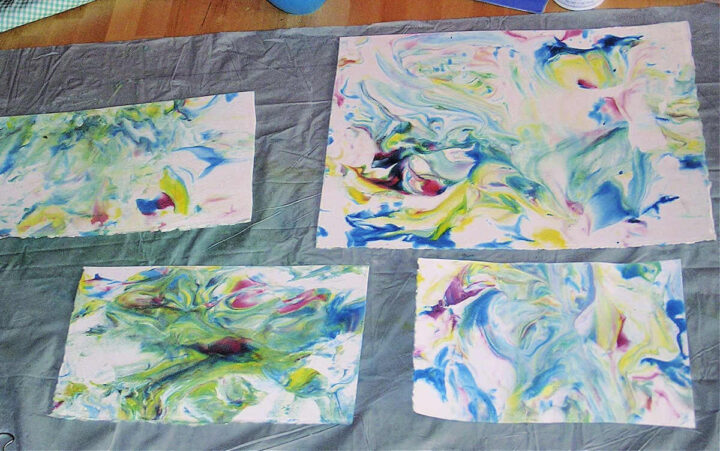
What to Do With Marbled Paper
By now your nostrils are all cleared up with the menthol scent of shaving cream and you are wondering what to do will all the gorgeous art work your child just created!
After making several sheets of marbled paper with shaving cream, you might be wondering what you are going to do with it all! Here are some ideas:
- Take the piece you love the best and frame it just as it is!
- Cut up marbled paper into smaller sections and turn it into greeting cards.
- Cut it up and use it for a collage project.
- Use the marbled paper as a cover for our handmade journal project.
Post updated 2023.


Shan says
OK, you are a mama extraordinaire, b/c that project looks COMPLICATED. Also MESSY. Involving MULTIPLE STEPS. Also? You actually have watercolor paper in your house. And you're doing all this with a newborn in your arms. Sigh. I can't compete!
Mom and Kiddo says
Truthfully, it wasn't as messy as it could be for kids who are not inhibited about getting slimy shaving cream on their hands. Kiddo doesn't like to get his hands messy, which is actually more annoying than it sounds since he demands constant hand wiping. Also the paper was a hand me down from a neighbor who was moving and has been sitting in the closet for 3 years! Plus, the baby didn't wake up until it was time to remove the shaving cream, which sort of meant that I felt I was racing against time for most of the activity. So you see, I was skillfully able to make myself fabulous when really I am just scraping by like the rest of us....
DonNA GUTHRIE says
Take a look at Meet Me At the Corner, Virtual Field Trips for Kids (www.meetmeatthecorner.org)
to see an easy project for kids.
Pop-up book artist, Robert Sabuda shows kids how to make a pop-up card. It's easier and cleaner than shaving cream.
Sam says
What a GREAT looking!! This method is easier. This is a great art project. Will try it soon, thanks so much for sharing.
Rachel says
To everyone worried about mess: We did this with 40 toddlers at a summer camp and all we did was take it outside and put big t-shirts on the kids as smocks, then we hosed everything off. It was much less messy than it would appear upon first glancing at the project.
Anonymous says
My son and boyfriend loved doing this project together! Thank you for the great idea. My family has all there pictures up on display. 🙂
Momand Kiddo says
You're welcome! I agree that it would make great wall art. Thanks for your comment.