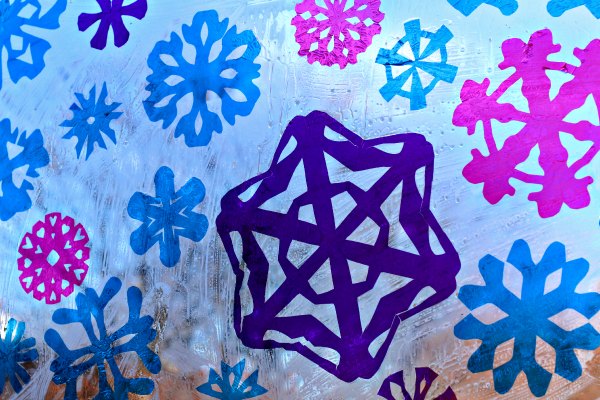
I am enamored with our new snowflake "stained glass" window! My kids and I love creating window art to improve our less than stellar view and one of our favorites is a faux stained glass art project that uses cellophane. Since we've done a fall themed stained glass window craft and rainbow window art it was time we did a window project for winter!
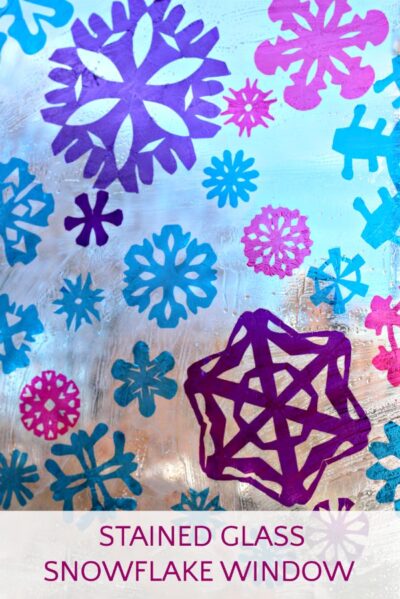
One of the byproducts of this faux stained glass technique is that the soapy water leaves a faux frost on the window, but that is perfect for a snowflake and winter themed window! Many people use tissue paper for kids stained glass projects, but I prefer cellophane because of the shiny quality, which is much more like real stained glass! Cellophane is also much less likely to tear than tissue paper, so it's easier and less frustrating for little hands to apply. I also love that you don't need to use sticky paper (which is made out of yucky vinyl). (Note: affiliate links included below)
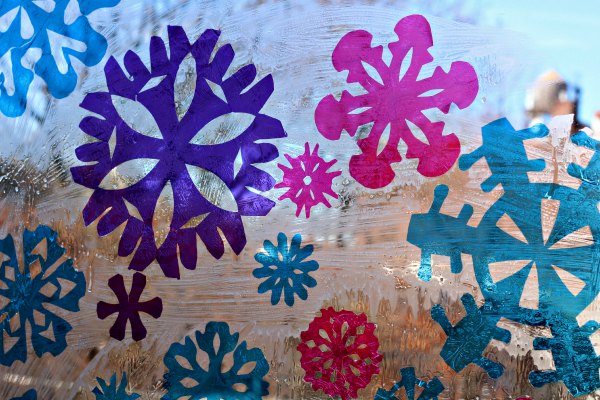
I've given the how-to in the other faux stained glass window posts, but here it is again.
What you need:
- Paintbrush. In the past we've used foam rollers, but after 10 years, they finally gave up the ghost.
- Cellophane. We've always used these cello sheets.
- Dish soap
- Water
- A window
- Towels for clean up
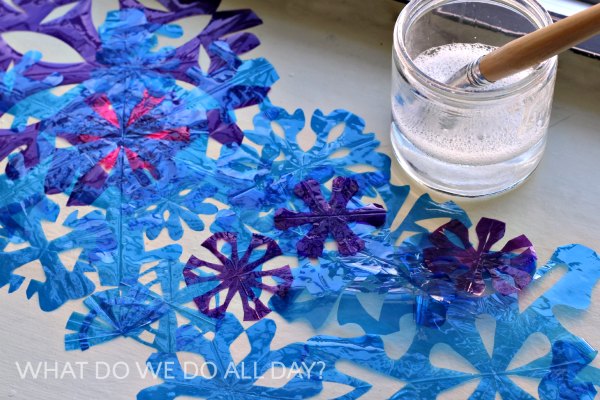
Instructions:
- Cut snowflakes. This is the hardest part because cellophane can be tricky for little hands to cut. In our previous window art projects, I've done all the cutting myself. It is easier to cut the folded layers of the snowflake pattern, however. Here's where I confess: I love cutting snowflakes. I made all these myself, because my kids just weren't interested the day I was doing it and I never force them to do crafts. I also made them last year, but never got around to applying them to the window until this year! (We move slowly around here.) If you need help cutting snowflakes, watch my handy dandy how to cut a paper snowflake video.
- Apply a mixture of 2 parts dish soap to 1 part water to the window. (You need this concentration, a lesser concentration won't have any staying power, believe me.)
- Stick cellophane snowflakes (or whatever shapes you want) to the window. I had also cut some snowflakes from the clear sheets, thinking it might create a sort of ethereal snowflake effect, but no. They didn't even show up, so stick with the colored sheets.
Step back and enjoy your beautiful snowflake stained glass window art! It's almost as good as real snow.
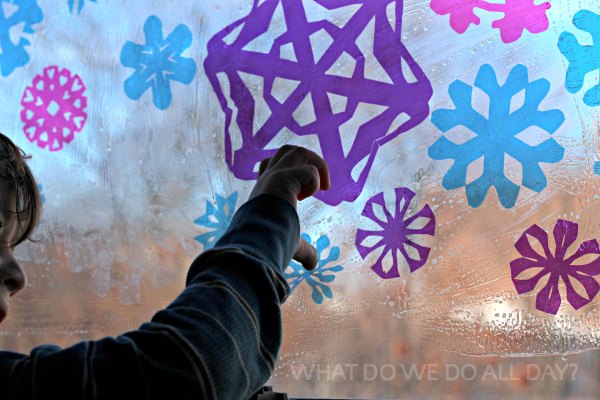
TIP: Snowflakes tear more easily than other shapes (but still not as much as tissue paper!) so less intricate snowflakes are better. If your kids are doing the cutting, that shouldn't be a problem. You can simply repair any tears, by closing the gap when you apply them to the window.
TIP: The cellophane will stay up until you are ready to take it down, in which case a little water will do the trick.
MORE: See 14 kids stained glass window projects; After your window is finished you will want to read picture books about snow!
BONUS: Got tons of paper snowflakes? Find out what to with paper snowflakes when you have more than you can handle.


Anna says
So pretty! I only knew the contact paper method so thanks for sharing this, I'll give it a try!
Andrea Avery says
I’m guessing you then have to wash the whole window in between all of the snowflakes to get the excess dish soap up?
Erica says
Only if you want to. 😉