Have you ever made a thaumatrope? It's an easy way to combine science learning with a bit of craftiness for STEAM fun. I'm a pushover for old school DIY toys, especially the ones I remember making when I was a kid. A thaumatrope is a groovy, optical toy that teaches kids about "persistence of vision". Sounds fancy, right? It's really just about visual perception and creating the illusion of motion because the eye can retain an image for roughly 1/20 of a second after the object is gone. So the next time your kids whine, "I'm booooooored!!!!!" challenge their scientific and design minds to create a few thaumatropes.
(Note: this post contains affiliate links)
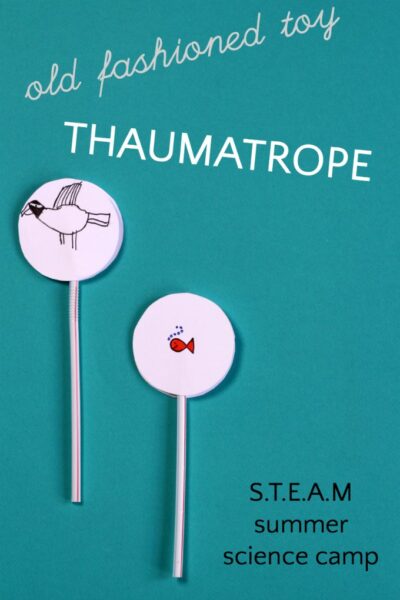
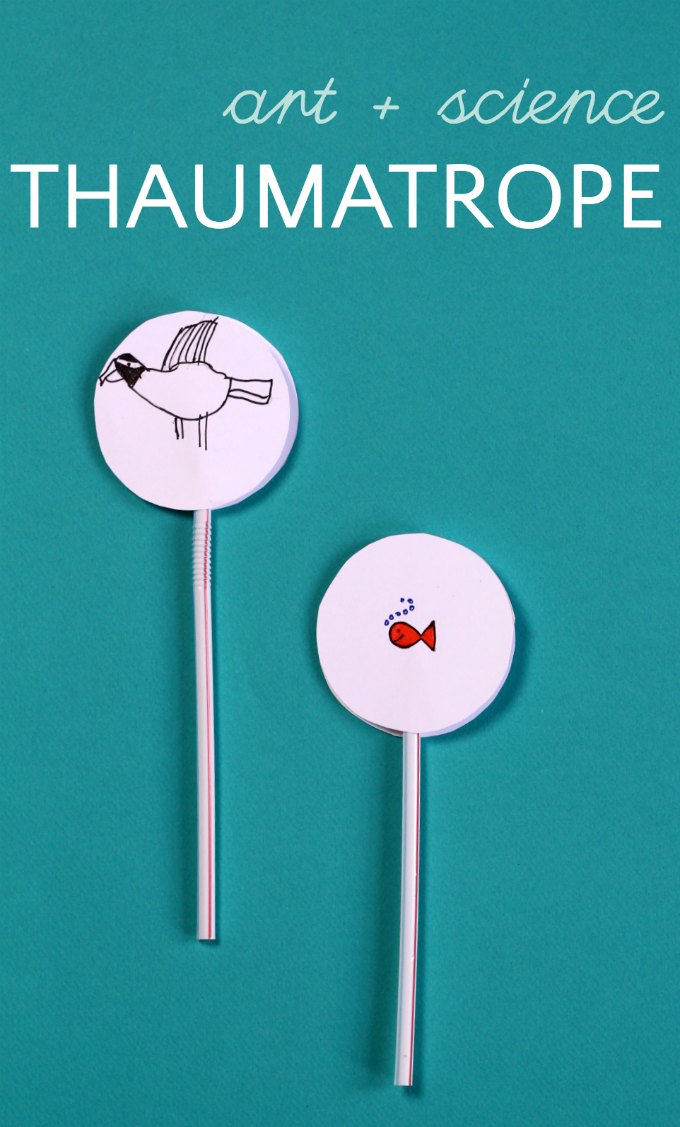
My kids have really been digging the thaumatropes we made this week. Thaumatropes are traditionally made by drawing complementary images on two sides of a disc. A string is then threaded through each end so when the disc is spun, the two images appear as one. We made a slightly different version which is easier for little hands to manipulate: thaumatrope on a stick.
How to make a Thaumatrope on a stick
What you need:
- Card stock
- Something round
- Scissors (these are my favorite kid friendly scissors)
- Pencil and markers
- Double%20sided%20tape" target="_blank" rel="noopener nofollow sponsored">Double sided tape
- Straws or other stick-like object such as chopsticks, dowels, or even real honest-to-goodness sticks
Instructions:
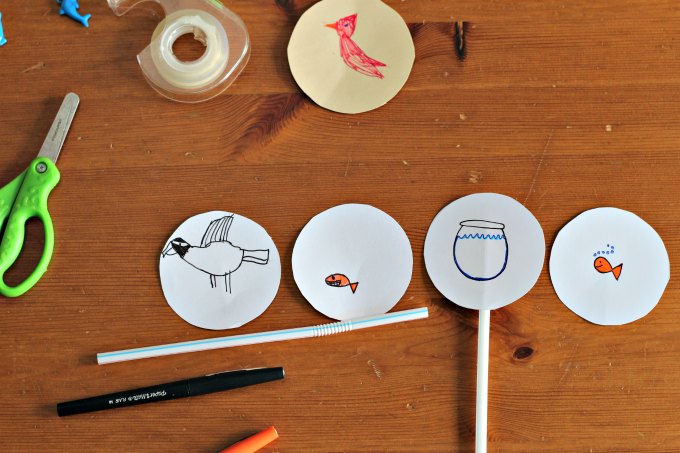
1. Trace and cut out two identical circles.
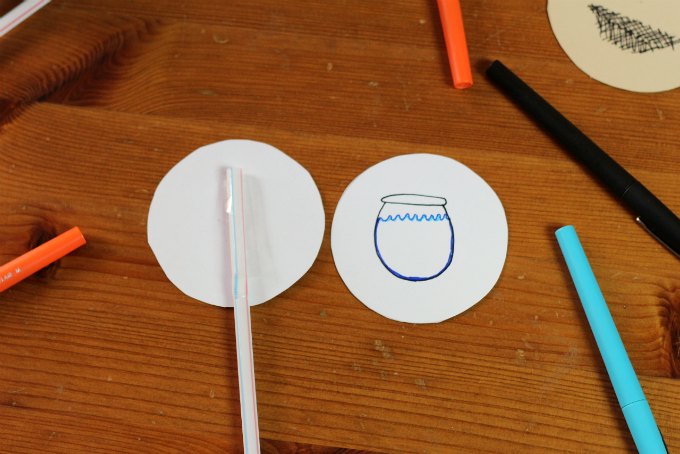
2. Draw two images which "go together." (You can find templates out there, but it is much more satisfying to draw your own!) My son created an osprey on one side and a fish on the other so that the spinning image would look like an osprey was carrying the fish. (Not to brag or anything -- well, okay I am bragging -- but I thought that was a pretty awesome idea.) I created the classic "goldfish in the bowl" with a fish on one side and a bowl on the other. My 6 year old wanted dueling lightsabers. The possibilities are endless.
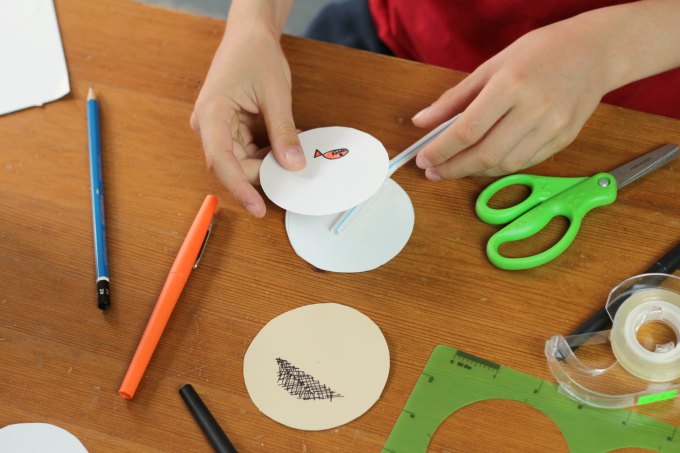
TIP: To align the drawings, stack the paper circles and press hard with a pencil around the outline of the first image. The image impression will be on the 2nd circle and kids can easily align the images appropriately.
3. Place a piece of double sided tape on the straw and apply the first paper circle. Flip over and apply second piece of tape. Carefully align the images back to back and press to secure.
4. Hold the straw between two palms and spin!!! Watch ours in action!
Fun fact: Thaumatrope means "wonder turner".
Explore More Motion Science
- Use our free printable to make Halloween thaumatropes!
- Make a zoetrope. My older son put together a zoetrope in one of his recent Tinker Crate kits. A zoetrope is an early animation machine.
- A similar spinning toy is a whirlygig. The Craft Train has a fun printable and instructions.
- Steve Spangler has a tutorial for a disappearing color wheel spinning toy.
Want more 52 more STEAM activities? Get the free list, plus step by step instructions for 2 sample projects. Sign up here.







Ana says
We love Thaumatropes!!!!! Such a fun and classic toy that astutely irresistible!
Leslie says
How neat! 🙂 Pinned!
Joe Buckshin says
Such a simple craft that has a bit of science and art! Love it.
Erica MomandKiddo says
Thanks! It's so nice to have simple ideas on hand.
Caroline says
We loved making these and we also made RUMA. Thanks for such great ideas...I linked to you on my blog. http://thehoppepad.blogspot.com/2015/06/games.html
Erica MomandKiddo says
I'm so glad you enjoyed it. Thanks for letting me know.
Lilian says
Thanks so much for your awesome yet simple ideas!