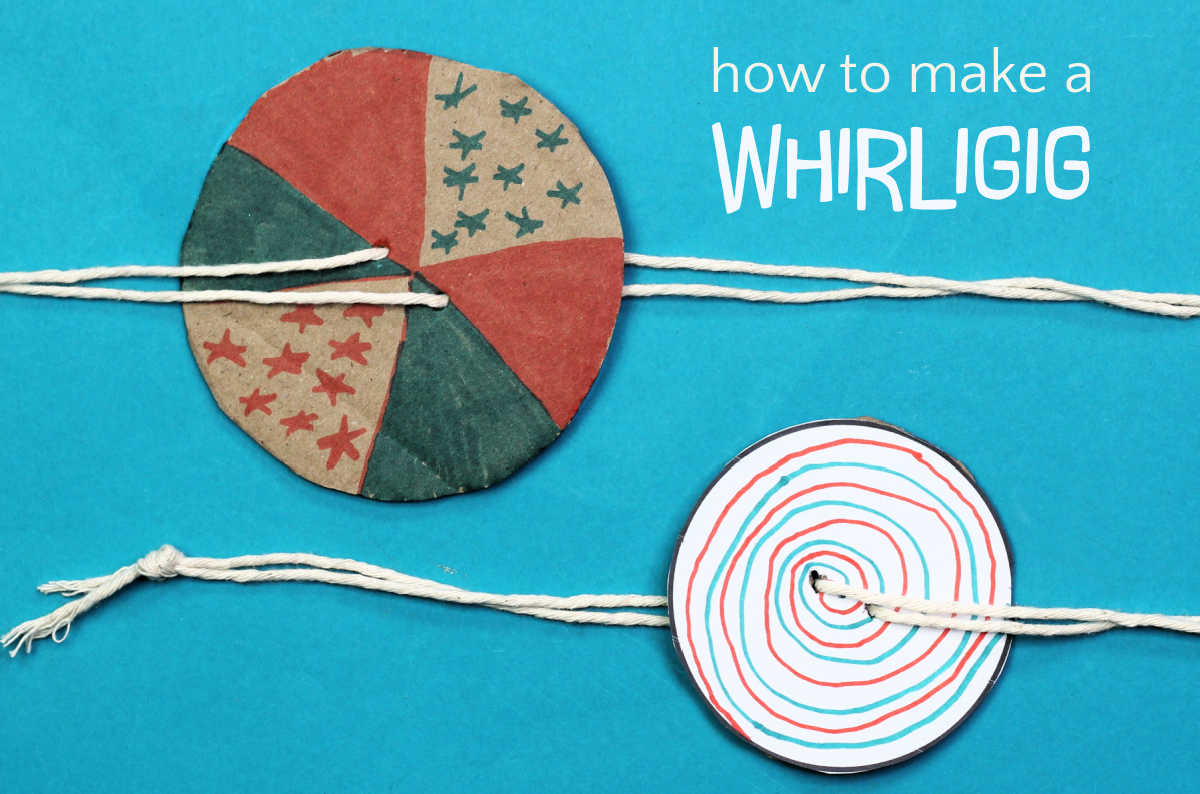
On a trip to a historical house museum, one of the toys for kids to try was a whirligig spinning toy. The kids loved playing with this wooden, old-fashioned toy and watching it spin around as they twirled and pulled the string to watch the spinning action.
As it turns out, it's easy to make your own whirligig spinner out of a circle of cardboard, string, and our (optional) printable whirligig template. It's perfect for old-school, screen-free fun.

How to Make a Whirligig
Fortunately, this old-fashioned toy is easy to make from a piece of cardboard straight from the recycle bin! You can use our printable template, but it's not necessary. In fact, most kids will enjoy designing their own patterns for their whirligig rather than using the template.
MORE: Retro crafts for kids that are still super cool
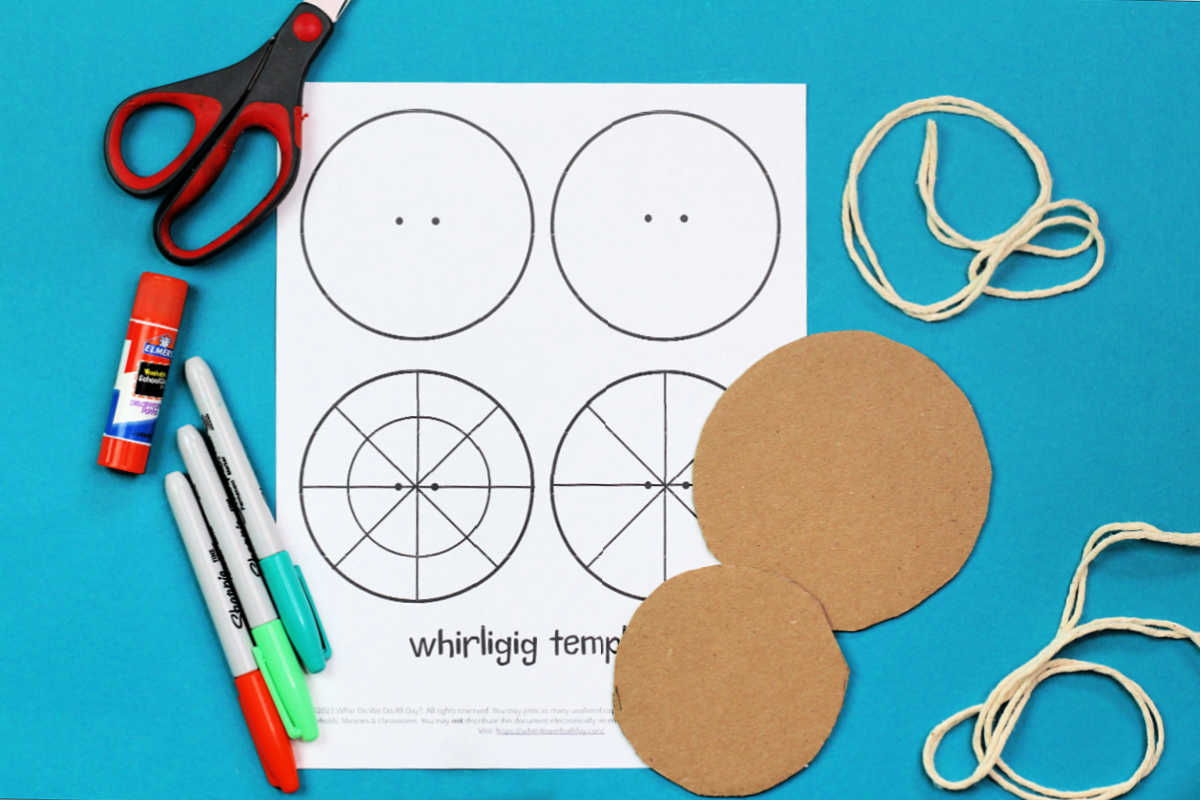
Materials
- Cardboard
- Scissors
- Glue Stick
- String
- Markers
- Template (if desired). Fill out the form below with your information and we'll send one right over to you.
- Something to use as a round pattern, like a glass or small bowl.

Whirligig Instructions
If using the template, print it, cut out the circles and place on the cardboard. Trace the circle on the cardboard and cut out.
If not using the template, use a glass or small bowl to trace a circle on the cardboard. Cut out the circle.
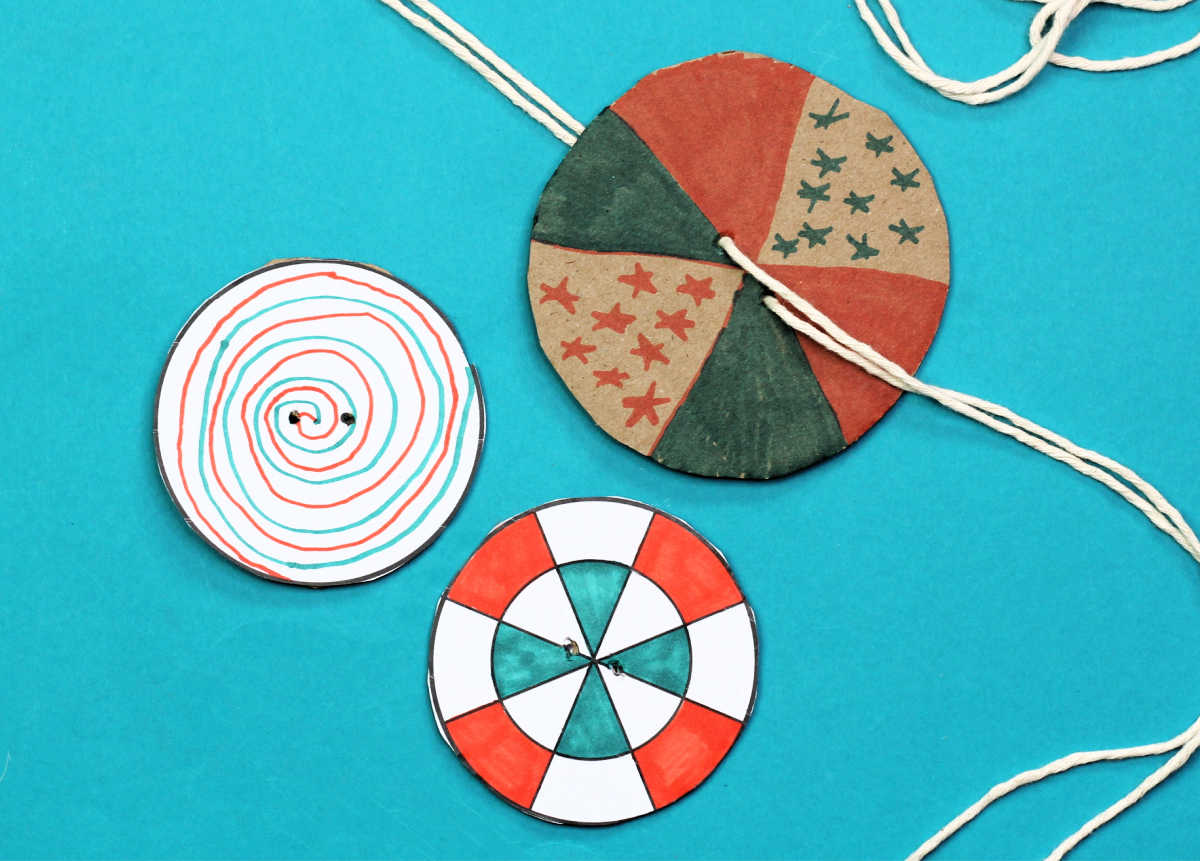
Using the markers, color in a pattern on the whirligig disc or template. Put a design on both sides. Patterns that work well for a spinning toy are swirls, checkerboards, and alternating lines.
If using the template, glue one to each side of the cardboard circle.
Finally, use the scissors to poke two holes on either side of the center of the whirligig and thread a long length of string through the holes, knotting the ends.

How to Spin the Whirligig
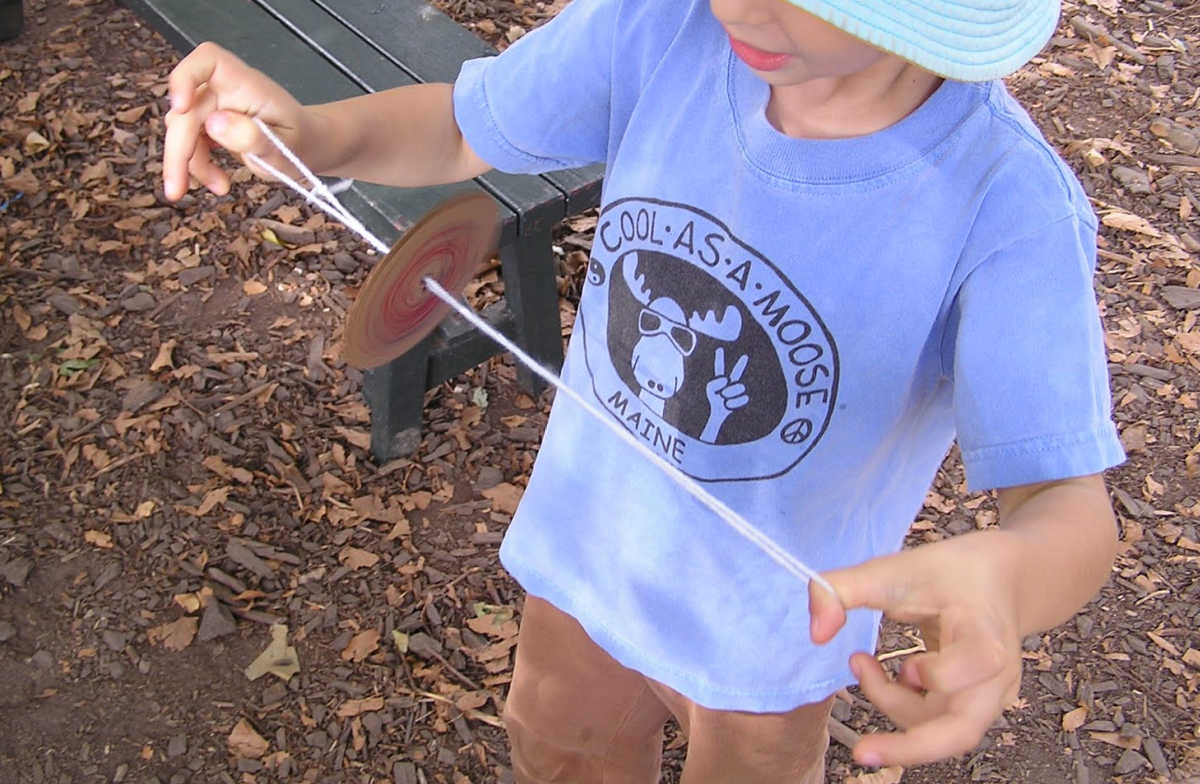
Holding the ends of the string, spin the whirligig around and around. Once you have it going, pull the yarn in opposite directions, but not too tight. The circle should spin fast and you can look at your decoration to see how it looks different in motion. Experiment with keeping the yarn tight, or giving it a bit of slack.

MORE: Now that your kids have made one old-fashioned spinning toy, try this cool diy spinning noise maker!
About the Whirligig Toy: History and Science
It turns out the whirligig, or spinner, has a long history. Both the ancient Greeks and Native Americans are known to have played with spinning toys that resemble the diy whirligigs of today. They could be made from buttons, bone or wood.
It sounds like the word, "whirligig," is made up, doesn't it? In actuality, it's composed of "whirlen" (to whirl) and "gigg" (toy/top), both from Middle English. Plus, it's a word that's just tons of fun to say.
Some whirligigs where designed so that the friction causes by the spinning action made a buzzing sound. Our DIY buzzing spinning toy is another example of how that science of sound works.
MORE: How to make an old-school bead and string puzzle
Originally published 2009, updated 2023


cathy says
Wonderful! Simple but engaging. Both my 6 and 3 yr old are going to love this!
Christine says
We are a little confused.Ours doesn’t spin.Why? Our holes are a half inch apart, we’re using card stock. It doesn’t work! Why!?
Erica says
Hmmm. Maybe try twisting the string, letting it go slack and then pulling tightly all at once? Here's a video in which Maggie of Red Ted Art explains how to hold the string. That might be helpful! https://youtu.be/bZ8PShMOXps?si=CIPICNpJTzrgMs9B&t=235