Making and designing a paper boomerang was the perfect accompaniment to my kids' recent obsession with making paper airplanes. (Did you see their awesome landing strips?) It was a nice way to spend a cold winter's afternoon when we were stuck indoors. The kids got a little science tinkering time in, and testing out the boomerangs released a bit of their energy and because these are boomerangs made out of paper, no one had to worry about breaking the fancy china. (Oh, who am I kidding. There is no fancy china.)
By now you probably know that S.T.E.A.M. stands for Science, Technology, Engineering, Art and design, Mathematics. Although there is a lot of heavy-handed promotion of S.T.E.A.M. learning these days, it's hardly a new concept. All of these disciplines are interconnected and even so called simple projects like keeping your kids busy flinging paper around the apartment can promote left and right brain activity! (Note: this post contains affiliate links. Purchases made through these links may earn commission.)
I was worried that making the paper boomerang was going to be difficult, that the design had to be precise for the toy to work. I watched a video about folding an origami boomerang but quickly realized that was far too complicated for my attention-challenged boys. It just so happened, however, that a library book I had checked out, Gizmos & Gadgets: Creating Science Contraptions That Work (& Knowing Why), had a simple alternative!
How to Make a Paper Boomerang
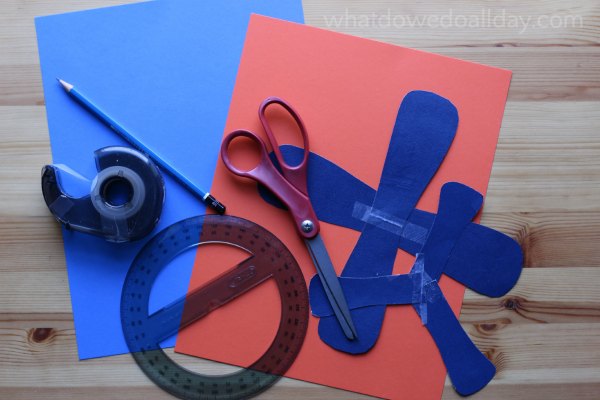
What you need:
- Heavy paper. This could be card stock, thin cardboard, cardboard, even watercolor paper (which made our best boomerang, more on that below). We experimented with different types of paper and I encourage you to do the same.
- Scissors.
- Tape. If using heavy cardboard, you may want to use glue (allow for drying time), or rubber bands.
- 360 degree protractor. This is not essential, but VERY helpful as you will see. Also, it is great for math art projects!
- Pencil.
- Enthusiastic engineers! (Required)
Step by Step Instructions:
Decide on the shape of your boomerang's arm. We found that the design is not nearly important as having each arm exactly the same shape. Since most of the examples we saw had arms with a slightly larger tip, that is what we did. Of course this is an area where kids can experiment to their hearts content!
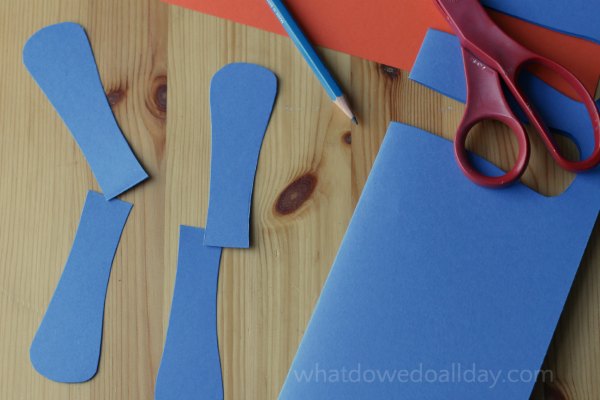
Right now you are thinking, is there template I can print out? Here's my answer: you don't need a template!
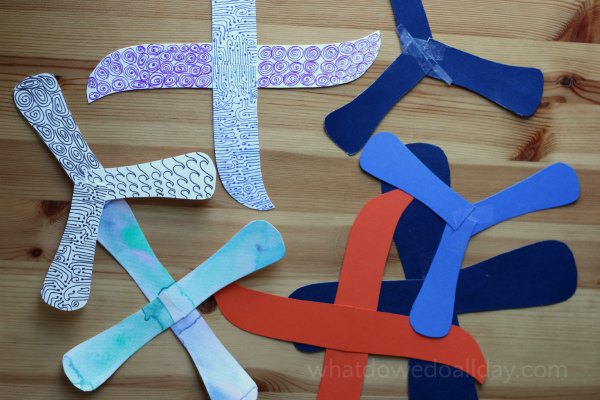
Once you have one arm, you can use it to trace more arms. Cut out the arms.
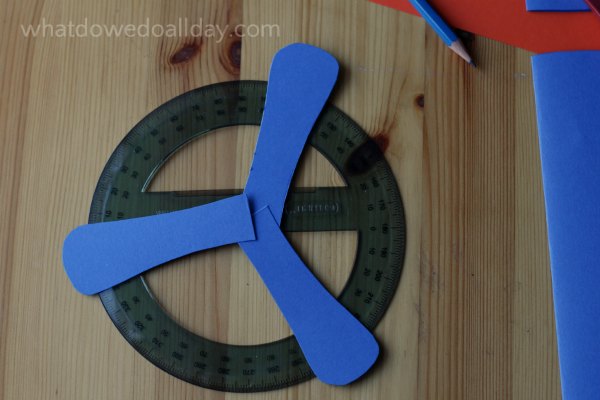
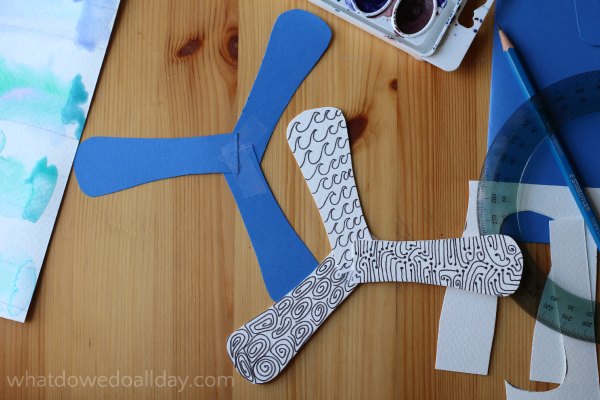
Tape 3-4 arms together. Use the 360 degree protractor to determine the distance between arms! We found this to be the single most important factor in producing a boomerang that returned to the sender. When we eyeballed taping arms in thirds, throwing the paper boomerang was unsatisfying. Adjusting the boomerang arms so they were evenly spaced made a world of difference. You want the arms at 120 degrees angles.
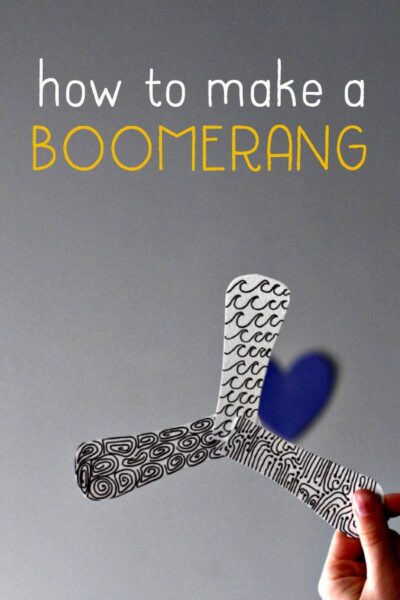
If your kids are motivated, decorate your diy boomerangs, this puts the "A" in STEAM. My kids didn't care much about this, but I decorated a few myself because I like that sort of thing.
You can experiment with different types of paper. Heavy cardboard didn't work at all for us, but we also have a small living room, so maybe we needed more space for the indoor boomerang to turn around instead of simply crashing into the wall! It turns out the watercolor paper worked the best! We speculated that perhaps the natural curling action (because it had gotten wet when I painted it) added to the aerodynamic action.
Troubleshooting (a.k.a. thinking like an engineer):
None of the paper boomerangs we made were perfect. But some were more boomerang-ish than others! Here are some tips offered up by my 10 year old:
- Try different launching angles. Hold the paper boomerang vertically, then try horizontally.
- Try different launching speeds. Throwing too fast didn't work too well for me, but maybe it will for you.
- Try different types of paper.
- Make sure the angles are even! (This is where the 360 degree protractor is very handy!)
- Even if it doesn't come all the way back to you, it has a really cool spin.
- Also, it's really neat to throw two at a time and see which one works better.
Extras: (thoughts from mom)
- For younger kids, make a sample paper boomerang to generate interest. My 6 year old was not interested in the creative part until I showed him how they work.
- Get in on the action yourself. Kids model what they see. Your kids may already be independent inventors, but mine are not. They are much more interested if I participate in the project with them. Otherwise they tend to go straight back to Pokemon.
- I absolutely loved how this project required the kids to think like scientists. Not every incarnation of the indoor boomerang was successful. This would be a terrific project for a classroom in which students compared and contrasted designs.
Want more 52 more STEAM activities? Check out my STEAM Kids book. Chock full of awesome ideas for kids ages 4-10.


Rachelle | TinkerLab says
This is awesome. I love all the punches of humor you sprinkle through your writing. And now I think I need to hunt down a 360 degree protractor!
Ana says
I love this! I had n idea you could make paper boomerangs! These look like a lot of fun and I agree that templates can discourage problem solving. Bravo!
Meri Cherry says
love the experimentation! who knew boomerangs could be made from paper? so cool!
Anne says
Love this! Definitely love the experimentation and learning about what elements are critical to the boomerang.