When you want to get in the autumn mood, you and your kids must do apple stamping, a classic fall art and craft project.
If you've never tried it, don't wait another moment! In fact, to tempt you to try this food stamping art activity, we have two different ways to make colorful prints with apples.
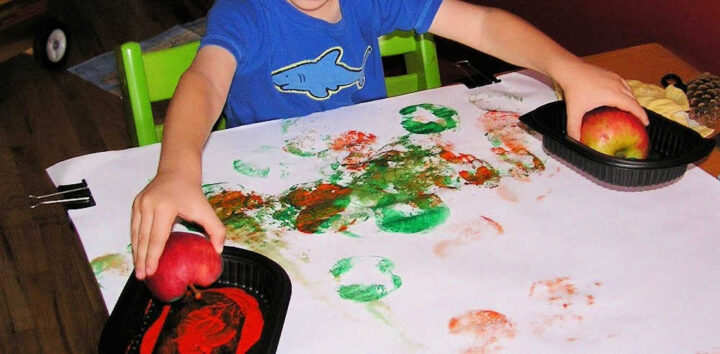
You can use the completed art as gift wrap, greeting cards, book binding papers, or even frame the most beautiful portion for unique art work to hang on the wall.
MORE: 65 Fun Family Fall Activities
Apple Stamp Instructions
Since this is a process art project, the apple stamping instructions couldn't be easier. You'll be telling everyone how to make their own beautiful paper covered with apple shaped prints in no time.
What you need:
You likely have everything on hand!
- Apples, cut in half. You can also use mini pumpkins for a pumpkin stamping craft!
- Paint in desired colors. We used washable paint in autumnal colors of green orange and red.
- Tray for paint. Take-out containers are perfect and make clean up easier.
- Paper. We recommend using a very large piece of paper to cover your entire table, preferably from a giant roll of paper–one of our must-have art supply materials!
- Large clips. Optional. We use clips to keep the paper in one place by securing it to the edge of the table with extra large binder clips. Alternatively, you can use masking tape.
How to Stamp with Apples
First, cover your work surface with paper and secure with binder clips or masking tape.
Dispense paint colors into separate trays. You don't want too much, and likely it will take some experimentation to figure out exactly how much paint in each tray you prefer.
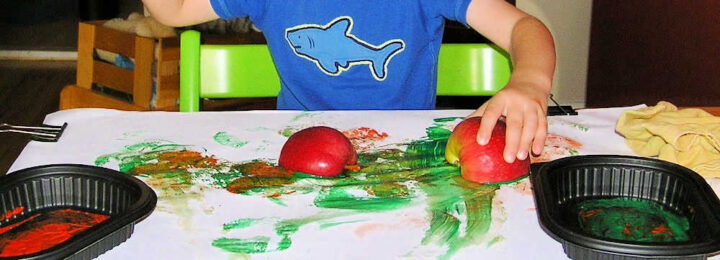
Next, cut your apple. Different cuts will produce different results. If you cut your apple in half while holding the stem side up, your print will look like a typical half an apple. But, if you cut the apple sideways through the middle, the prints will reveal a flower-shape in the middle of the print.
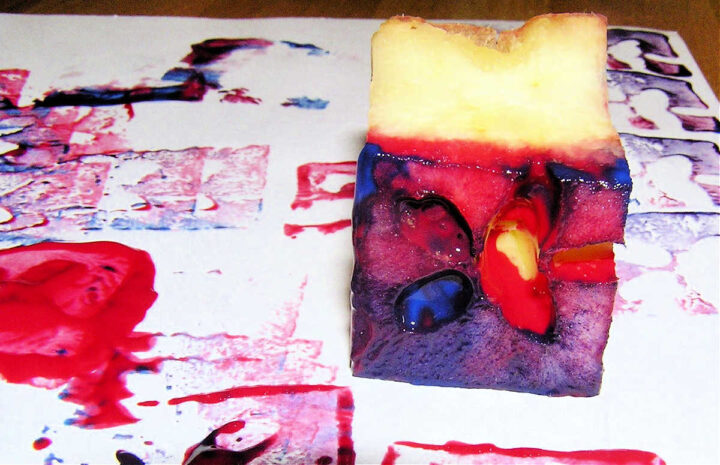
We recommend using at least two apples so that you can have both kinds of prints!
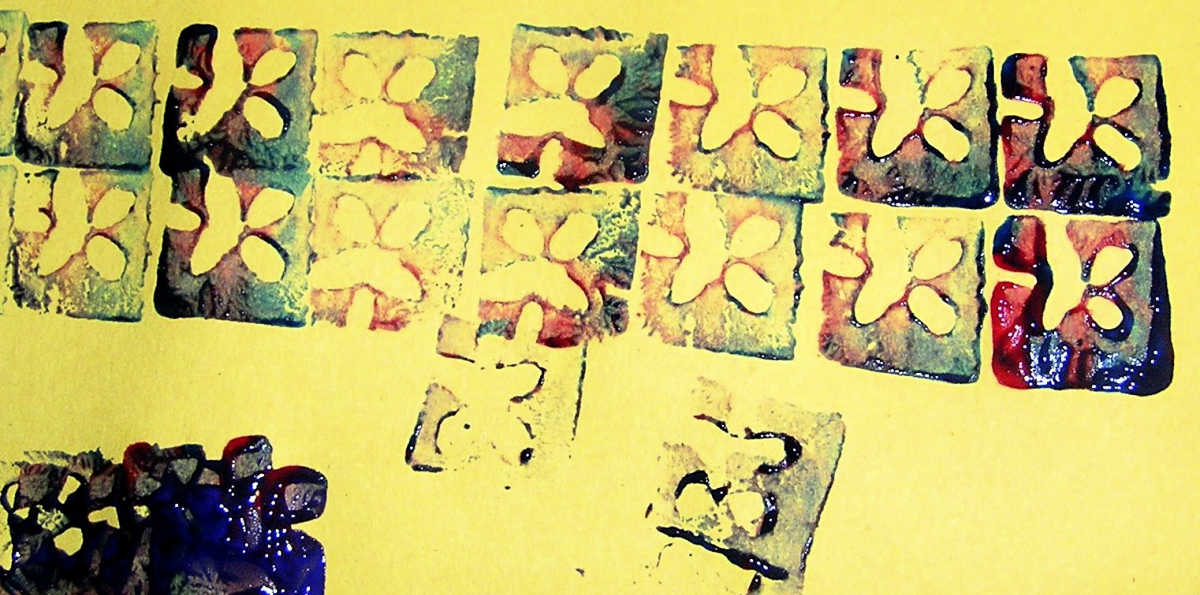
Finally, it's time to use the cut apple portions to stamp. Place the apple in the paint tray and cover the cut surface with paint. Now, press the painted side on the paper to make an impression.
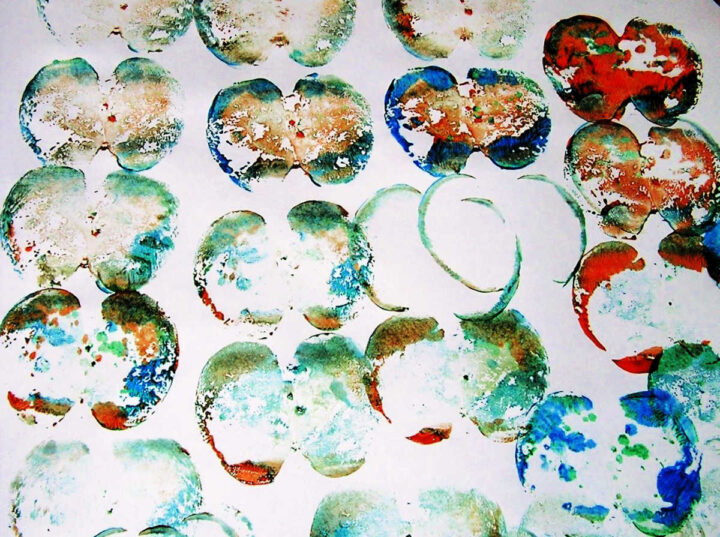
Allow your child the freedom to try different colors, and experiment with stamping patterns on the paper! There's no right or wrong way to make art.
And don't forget, it's okay to get messy because washable paint makes for easy clean up!
MORE APPLE AND FALL CRAFTS:


Gottfredsen says
I like the way the apple stamps came out. They are really pretty. Good Job
So Smrt says
It looks like you had fun too...funny, when I stamp with E mine are always in lines, too. does that mean we're uptight??? 🙂
Shan says
More inventive? Heck, I give myself major props for doing things like apple printing. Of course, I have not yet done apple printing with my girls, because I have no poster paint in my house.
Brenda from Flatbush says
I love printmaking of all kinds...the apple prints are lovely!
Jenny says
I was so relieved to read that I don't have the only child who likes to have "company" while painting. I usually try to encourage her to do it on her own, but next time I'll have to give it a go myself. Love the "scrub brush" effect, BTW!