With several full bottles of liquid watercolors calling to us from the art supply cabinet, we knew that exploring salt and watercolor art was next on our list of art projects to complete.

(This post contains affiliate links that earn commission from qualifying purchases.)
Making Salt and Watercolor Prints
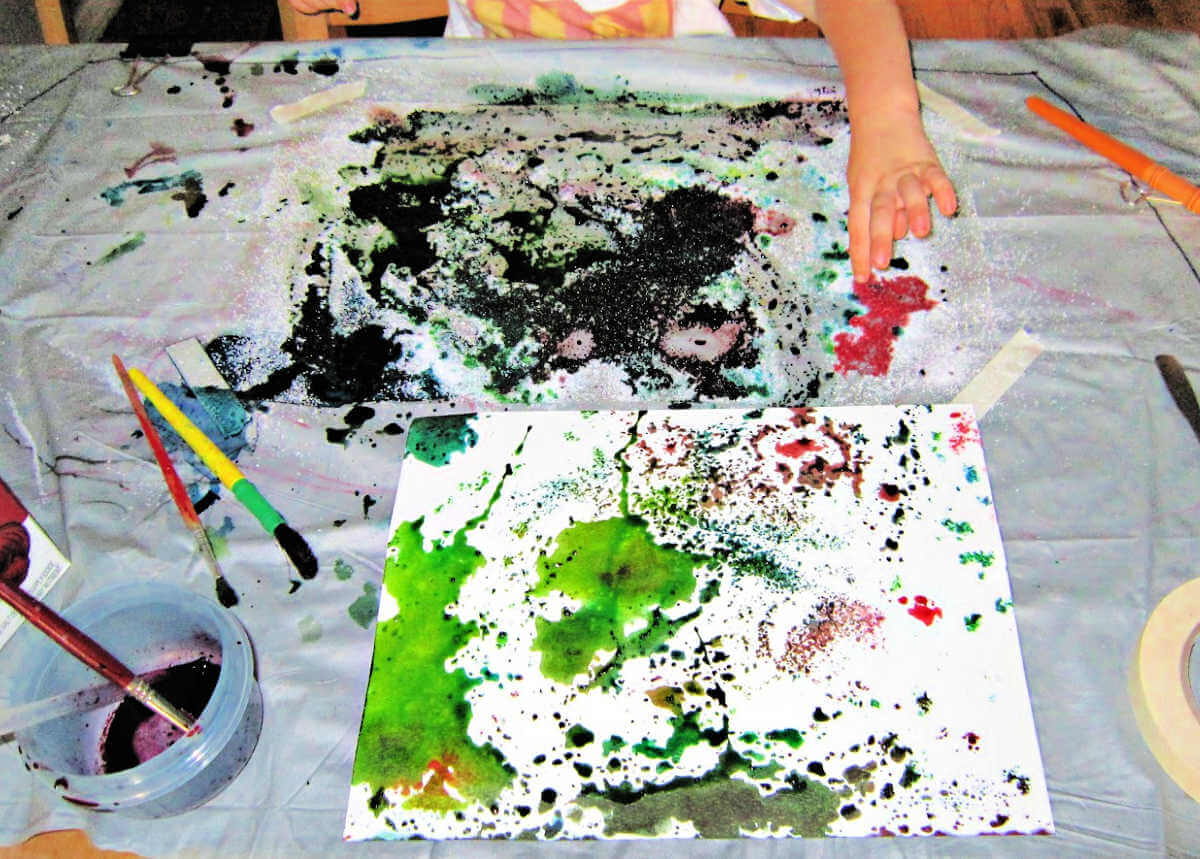
Without any clear plans on how to use a roll of sticky paper (aka Con-tact Paper) that sat next to the watercolors, I grabbed it to include in the art session with the kids. The result was a happy accident of salt and watercolor prints using the sticky paper as the base.
Materials
Liquid watercolors. We used Colorations brand liquid watercolors.
Watercolor paper. Use whatever weight paper you want, knowing that heavy weight paper is less likely to buckle and curl from the wetness of the paint.
Paint brushes. You can use cheap paint brushes made for kids. The quality is not important.
Optional: Pipettes for dropping instead of brushing the watercolor onto the paper
Salt, preferably rock salt (aka ice cream salt), but you can experiment with different types.
Sticky paper, like Con-Tact Paper. Strictly speaking, sticky paper is not required for this project. If you want to avoid buying vinyl paper (understandable) you can try the project on any non-absorbent surface.
Waterproof mat to protect your work surface. My husband once bought an ugly grey shower curtain which I cut up for painting mats.
Small containers to hold the watercolors. Plastic food containers are perfect.
Masking tape.
Note that all of these are some of our favorite materials that we keep stocked in our art supply cabinet.
Instructions
Place your mat on your work surface. I like to secure ours to the table with jumbo binder clips.
Next, tape a large piece of sticky paper sticky side up, onto a work surface. The sticky paper sheet should be at least as large or larger than your watercolor paper.
Decant some of the liquid watercolors into your small containers. Be sure to save some for later when you make the fall leaf liquid watercolor art project.
How your child approaches the art-making part of the project is up to them. This is a process art project, so the focus is on the experience of creation, rather than the final outcome, or product. Allow your child room to express their creativity.

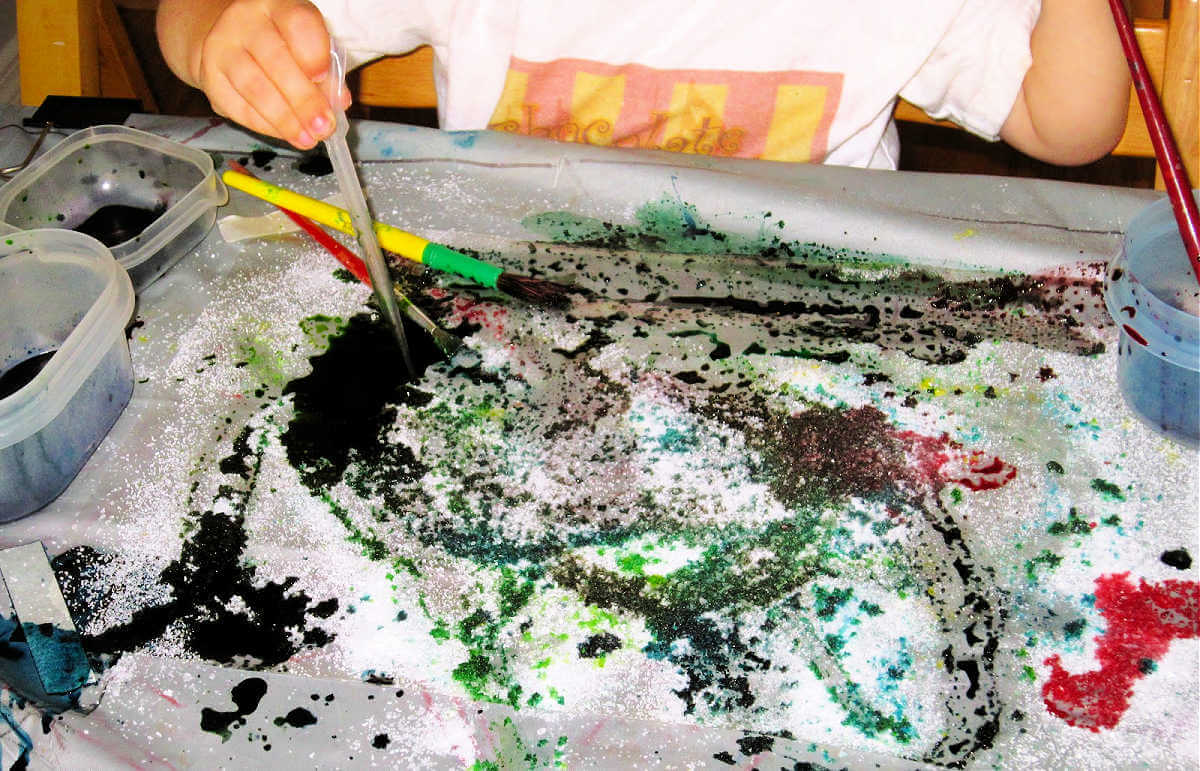
We started out by sprinkling the sticky surface liberally with salt. Next, my kid painted over and across the salt with the watercolors.
He also loved adding color with the pipettes. He could make gorgeous pools of color, which were sucked up by the salt, which also taught him about the science concept of absorption, something he also observed when making coffee filter art!
MORE: Explore science and art with this painting with marbles art project.
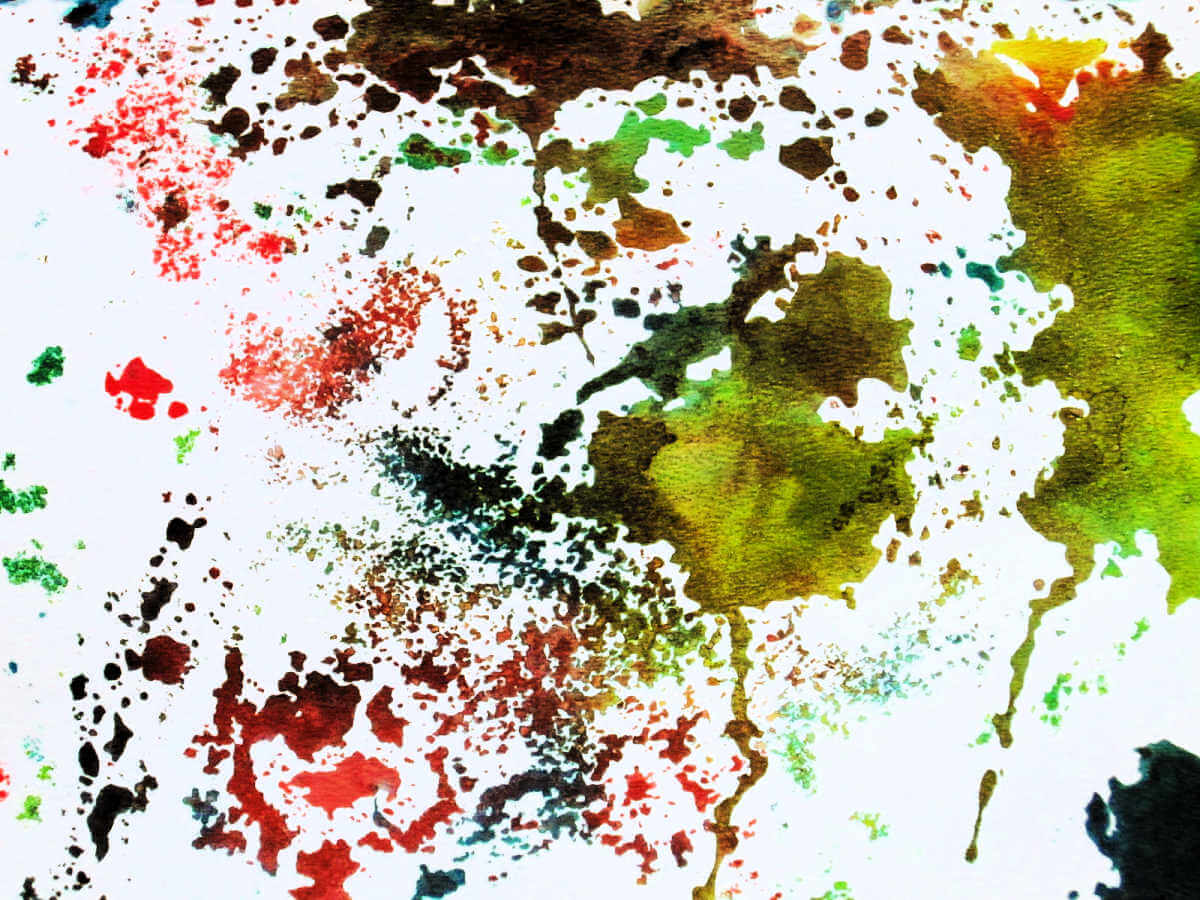
After your child has decided they have had enough fun with the watercolor and salt part of the project, create an art print by pressing a piece of watercolor paper down on the surface of the colored salt. You can do this as many times as you like. Each time the print will be slightly different.
The print makes lovely abstract art!

MORE:
- We also love using salt on rain painting to create a gorgeous effect
- Use liquid watercolors to make groovy coffee filter art
- Try painting with puffy paint! We tried two recipes.
Idea first published 2012, updated 2023.


Raising a Happy Child says
Very clever. I am trying to stay away from Pinterest most of the time, I already have enough addictions in my life 🙂
Anonymous says
thanks for sharing.
Play Create Explore says
LOVE it! How clever to make a print with another piece of paper! Thanks for the links back as well. Love your blog! 🙂
Momand Kiddo says
Thanks!
Crafty One says
How do you make the print? Is it just putting the paper on top of the salt picture and pressing down while it is wet?
Erica says
yes, exactly. 🙂