Imagine a way to break out of your holiday funk and make family memories at the same time.
Now, imagine that the solution will produce something to make you smile every day for the rest of the Christmas season.
That's right! You are about to learn how to make a Christmas tree! For real! It's actually not hard to create your own alternative Christmas tree, and it's pretty fun as well. So when you are battling over whether to have a real or artificial tree, do a DIY Christmas tree, instead!
(Note: this post contains affiliate links which may earn commission.)
Which of these Christmas scenarios fits you:
- You dream of not spending your hard earned cash on a temporary, even if beautiful, real Christmas tree.
- Plastic Christmas trees aren't really your style.
- You want a Christmas tree. Decorating is super fun, but you don't like the hassle of taking it down and packing everything up at the end of the year. Frankly, that is sort of depressing.
- You LOVE Christmas trees and you wish you could have one in every room!
- You want to engage everyone in an easy, family cooperative holiday art project.
Confession: I check all of the above boxes!
And... whichever scenario fits you, this DIY Christmas tree art project fits the bill.
For the past few years, I have eschewed a real Christmas tree in order to make my own. Will I ever go back to a real tree? Probably. But for the time being, I adore the ease and creativity that comes with a family-made art tree.
Here's how to do it!
How to Make Your Own Christmas Tree
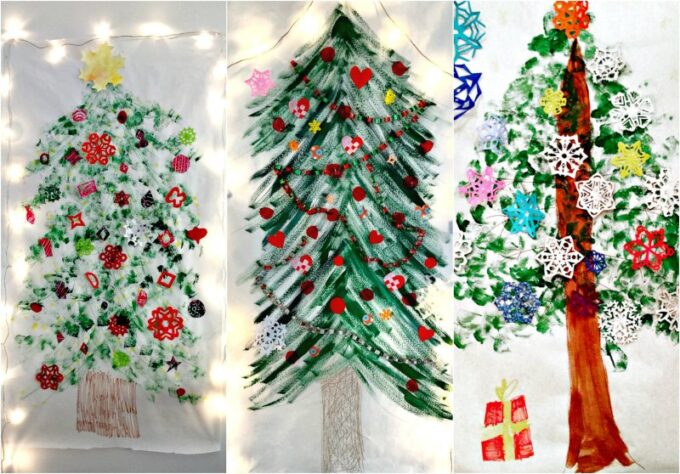
The end result of your homemade Christmas tree is up to your family, and everyone's will be different. That is the beauty of this holiday art project. Be sure to scroll all the way down to the bottom of the post to see how our trees have changed over the years!
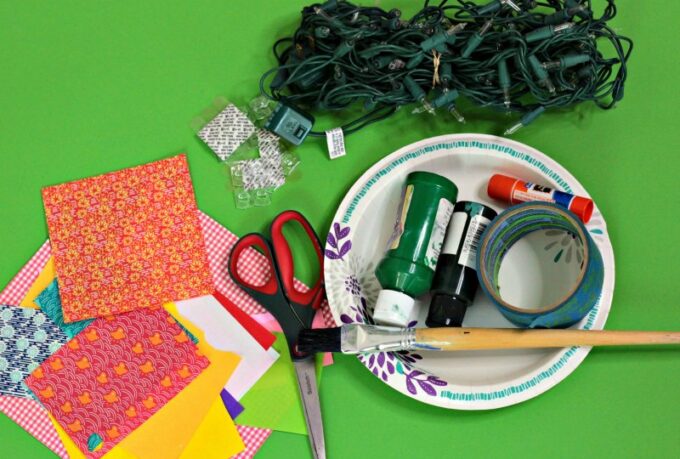
DIY Christmas Tree Supplies
For the tree:
- Big paper! A roll of butcher paper is a household staple, IMHO. The paper I used is 36 inches wide. Cut it to your desired length.
- Paint & crayons. Be sure to use washable paint in case of accidents.
- Paint brushes for everyone. A nice big fat one is best.
- Painter's tape. Painter's tape is designed to be safe for walls. Be sure to follow the instructions.
- String lights
- Removable Command string light hooks
For the ornaments:
- Scissors
- Decorative paper. Use whatever you have, including magazine scraps, origami, tissue paper and anything else you wish.
- Tape or glue stick
- Cookie cutters for tracing shapes like gingerbread people (optional)
DIY CHRISTMAS TREE INSTRUCTIONS:
- Affix paper to wall
Cut white paper to desired size. Using painter's tape, affix to wall. The blue tape will show through the paper, but you can either decorate over it, or tape a white piece of paper over the tape.
- Paint tree
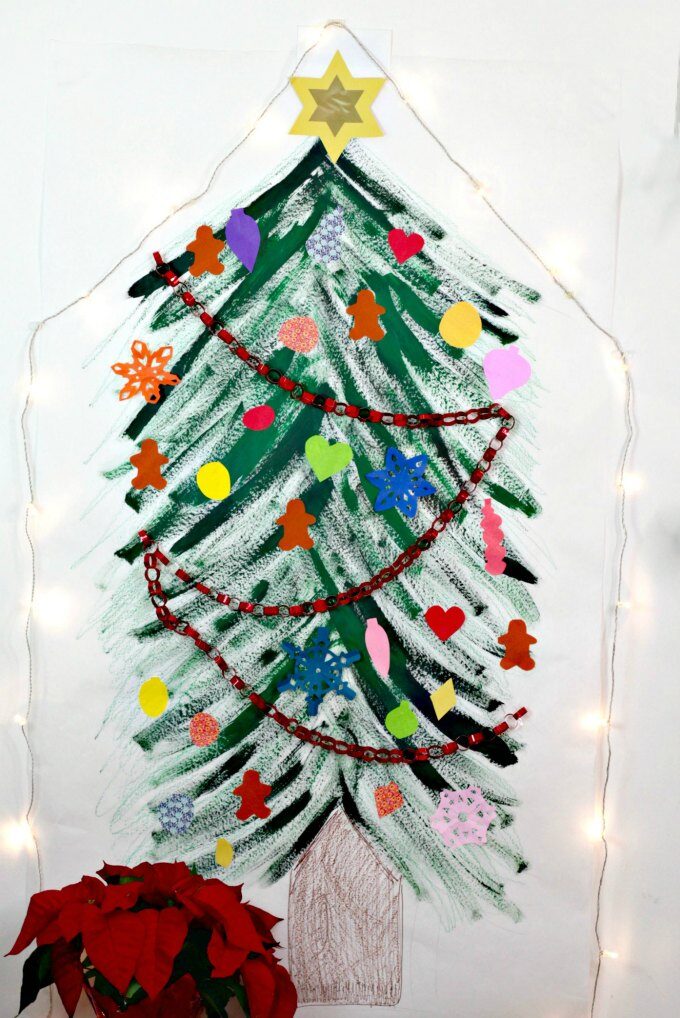
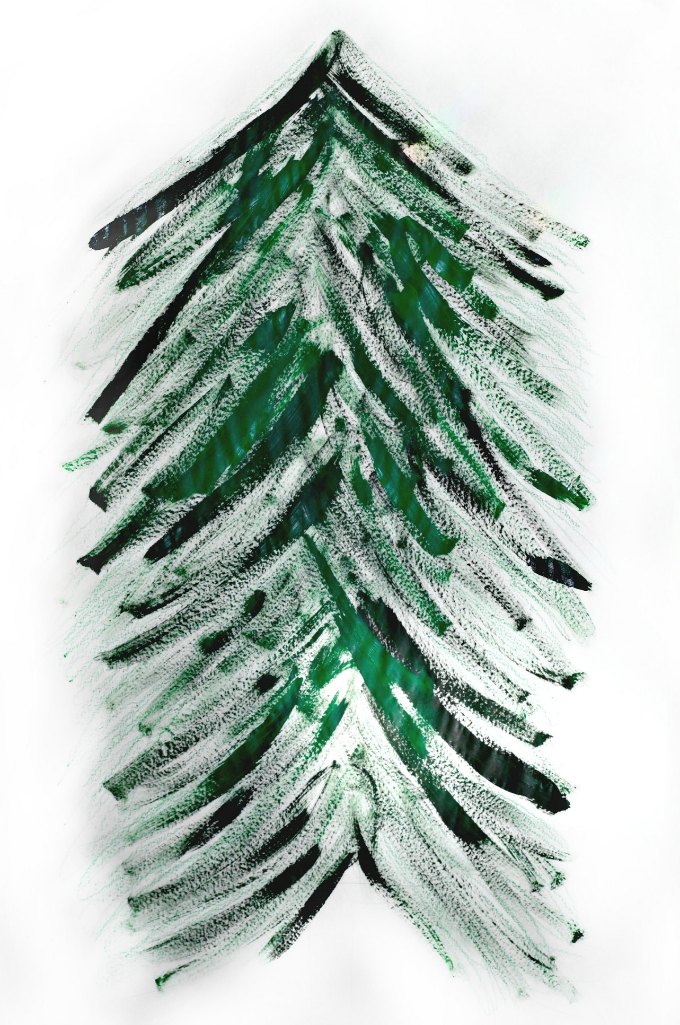
Using washable paint, paint the tree background as desired. We like to use different colored greens as well as crayons and/or markers for a textured effect. Use brown paint or crayon to draw trunk. If you want, paint in a few gifts or toys under the tree.
- Make decorations
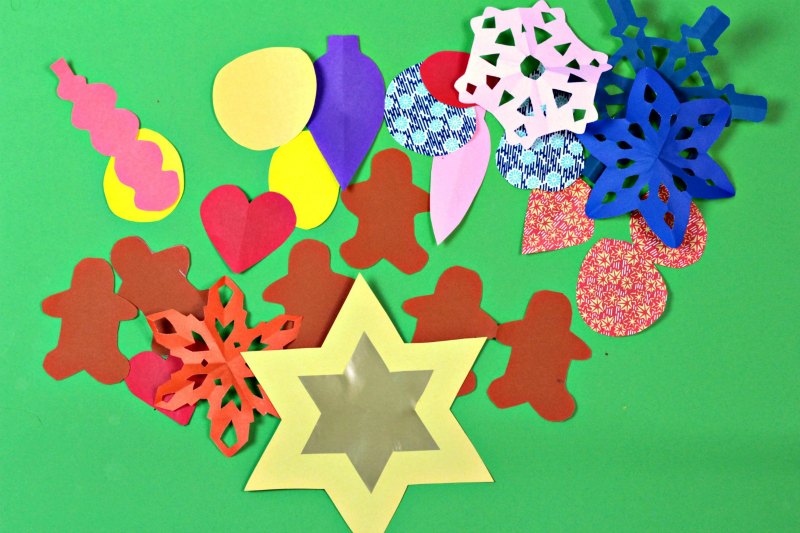
Using your supplies, design paper decorations for your tree. This is where you and the kids get creative! Make snowflakes, shaped ornaments, paper chains, gingerbread people and more. Don't forget the star for the top. Read here for my instructions on how to make a perfect 6 point star.
- Affix decorations
If using a paper chain, apply first using tape. (Glue won't hold the weight.) You do not want your chain to be too long and heavy because the weight can bring down the tree. (I know this from experience!)
Using tape or a glue stick, apply paper ornaments to the tree as desired. - Install light hooks
Place one reusable Command string light hook at the top of the tree above the paper and at least one on the wall next to each side of the paper. You must place the hooks on the wall, not the paper, or the weight of the string lights will bring down the tree!
- Hang lights
Hang the center of your light strand on the top hook and gently drape as desired on the side hooks. How many hooks you use is up to you and how you want your lights to hang. Plug in the lights and enjoy!
Voilá!
Check out all our different trees! From left to right:
- Notice the fractal star on top! You can learn how to make on in my STEAM Kids Christmas book.
- The year we forgot the star! And used our "woven" Swedish hearts.
- The snowflake tree! We sponge painted the greenery that year.
What will your Christmas tree look like?
More ideas for a fun and easy-going Christmas:
- Make a fractal Christmas tree
- Easy Tomten garland
- Listen to Christmas audiobooks the whole family will enjoy




Leave a Reply