Drawing cat tessellations is a relaxing activity and a fun way to show kids how math and art intersect. Tessellations help kids explore shape, pattern, form and geometry, which are important concepts for both disciplines.
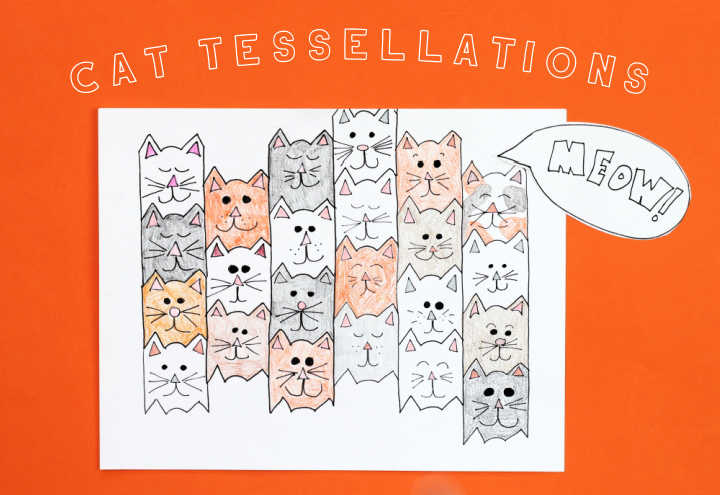
We'll show you how to make an easy cat tessellation pattern step by step. This is a great math art activity for the classroom or after school enrichment and is appropriate for students of all ages and skill levels. Once kids understand the basic way to make a simple shape to tessellate they may even start creating all sorts of animal tessellations!
What Is a Tessellation?
In simple terms, tessellations are repeating patterns of one or more shapes on a 2D plane in which geometric shapes, called "tiles," are nestled against each other in such a way as there are no gaps or breaks. The tessellation patterns may or may not include rotations.
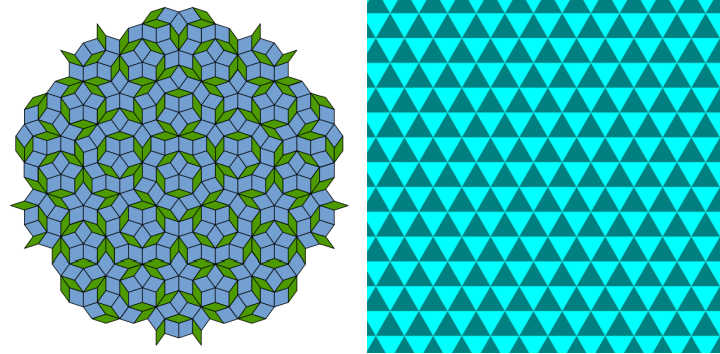
Think of a jigsaw puzzle, but in which all of the pieces are identical in size and shape. Or the tile on your bathroom floor or kitchen backsplash. A quilt often contains tessellating patterns.
Artist M.C. Escher is the biggest name in tessellating art. No doubt you've seen his famous works, but this cat math art project is much more appropriate for beginners!
We have even more tessellation designs to choose from:
- Heart tessellations three ways
- Star tessellations with different rotations (includes how-to video)
- Basic tessellation (includes how-to video)
How to Make Cat Tessellations
A cat is an easy animal tessellation and this pattern is very simple as we will be using only one shape. Making the cat shape that becomes the base of a repeating pattern is very easy to learn. The principal is the same as we showed you in our first post on the art of tessellation, but we'll go over the basics again, here.
Supplies needed:
- Paper squares
- Plain paper
- Scissors
- Pencil or pen
- Tape
- Colored pencils, markers or crayons (optional)

Step by Step Instructions
For beginners, it is best to start with a square piece of paper to create the cat face pattern. Using your pen or pencil, draw the top of the head and cat ears.
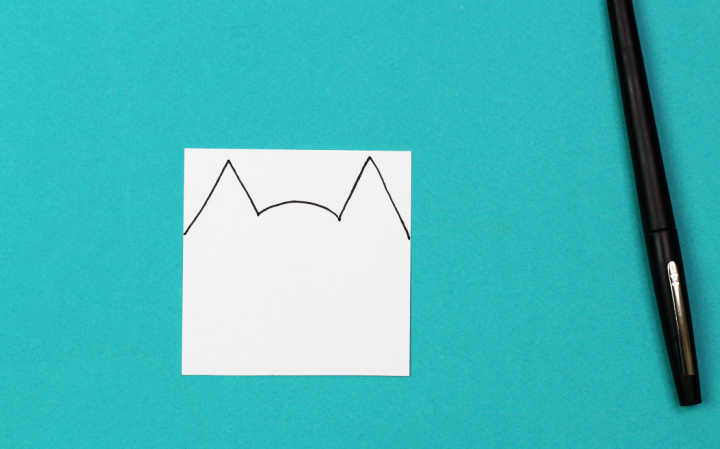
Try to draw the ears so they do not reach the top of the paper. As you'll see in the next steps, it's because you'll only have one piece to tape rather than multiple pieces.
Next, cut along the outline, being careful not to cut all the way to the top edge, that way you end up with only two parts.
Move the top piece to the base of the larger part without flipping or rotating.
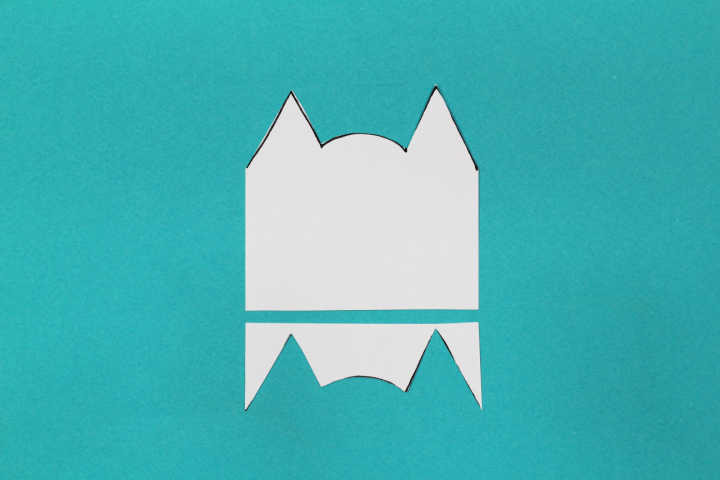
Tape pieces together being careful to align the edges as neatly as possible. Younger children may need the steady hand of an adult. If the edges aren't aligned, the pattern will not tessellate properly.
MORE: 21 Math Art Projects for Kids
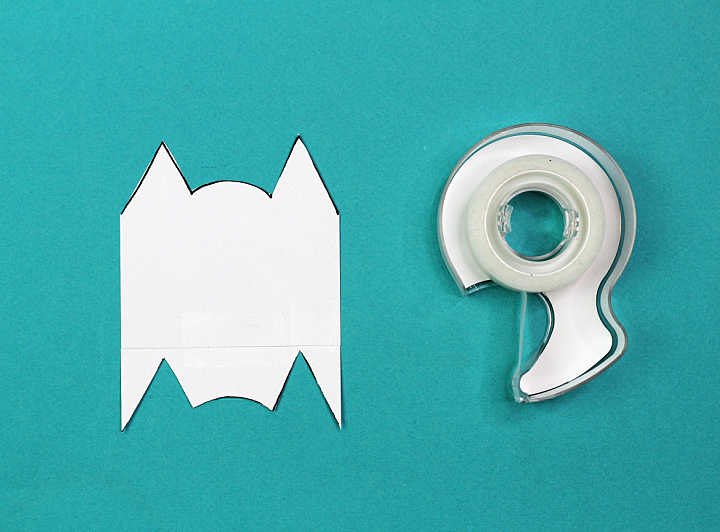
Now the really fun part begins!
Trace the outline of the cat pattern on a large piece of paper. Once you have a tracing, move the pattern next to the first outline so that they are nestled next to each other and trace again.
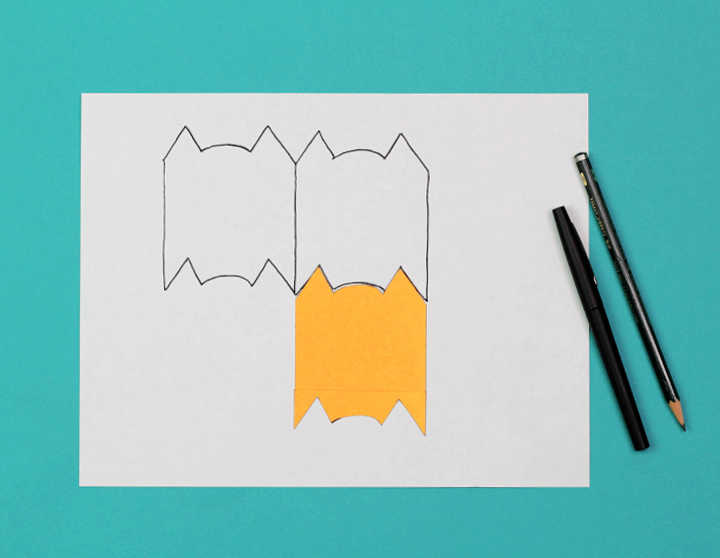
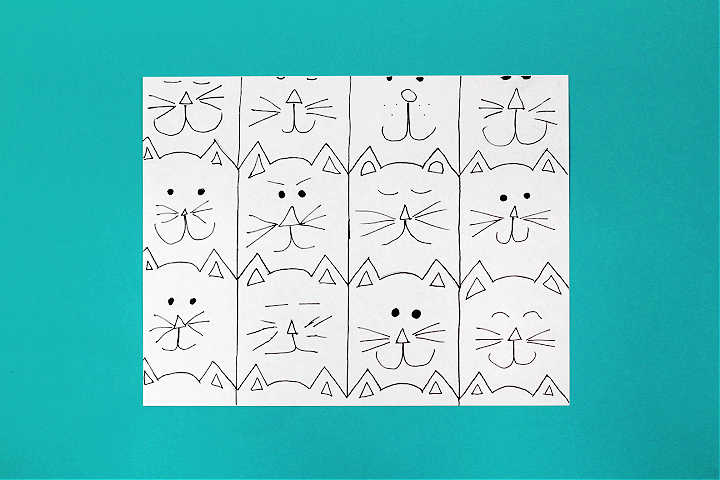
Continue to repeat this step until the paper is filled with cats. Then, draw in their cute features, giving each feline a different personality!
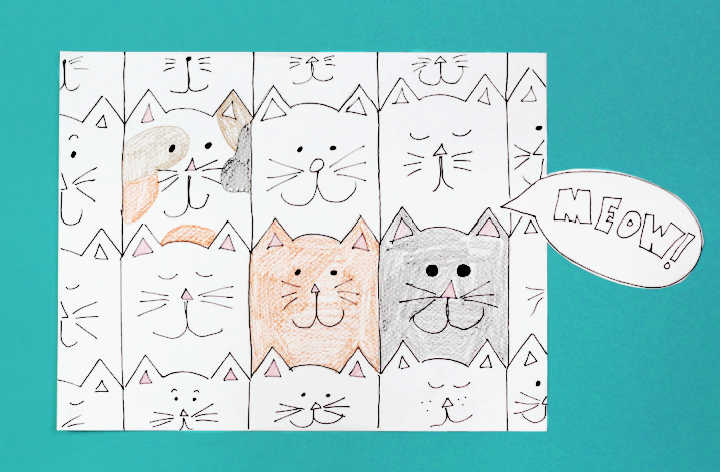
Technically, using colored pencils to enhance your kitty cats is optional. But, no doubt, you won't be able to resist.
See how adorable they are! I can hear them purring.
MORE: Math Art Books for Kids


Itumalo naiuli says
That is awesome. Thank you for sharing a beautiful project of math in art tessllation. God job.👍👍