Have you ever made a Möbius strip? We've made simple ones before as part of our creative math learning explorations but a little blurb in a math games book inspired my 9 year old math whiz to take the Möbius strip to the next level. In case you don't know what a Möbius strip is, it's a one-sided non-orientable surface. In other words, it's a surface with only one side. Sound crazy? It sort of is.
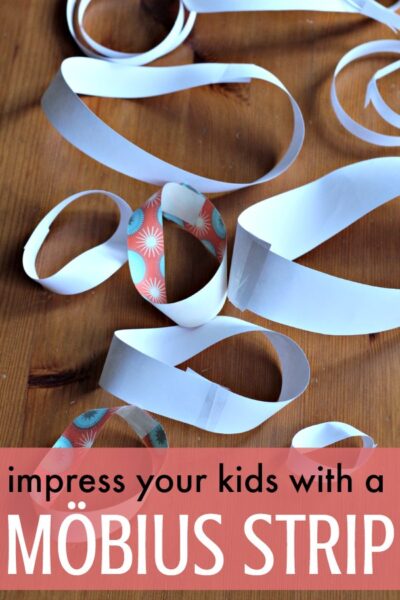
The wonderful thing about Möbius strips is that they are also rather artistic, and as you may recall from our post of over a dozen math art projects one of the best ways of getting my math-oriented son doing artsy thing is to make sure there is a math element involved. You can make the simple loops (I'll explain how below), which are fun in and of themselves, or you can really impress your kids when you transform the strips with a few snips of the scissors.
How to make a Möbius strip:
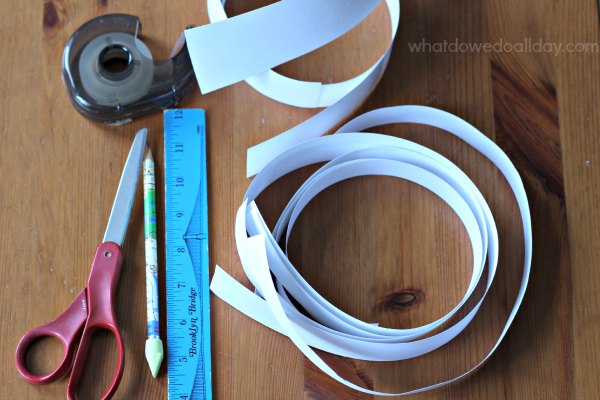
What you need:
- Paper strips. We cut ours in various sizes. For our project, pieces at least 12 inches are best.
- Scissors
- Pencil
- Tape or glue. Tape eliminates waiting time, always a good thing.
- Ruler (optional)
- Enthusiastic children (If they aren't enthusiastic at the start of the project, they will be by the end.)
Instructions:
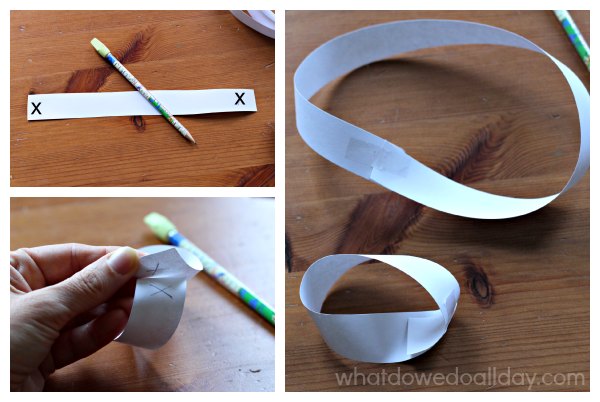
Mark an X on both ends of the same side of the paper strip. Half-twist the paper so the Xs touch. Tape or glue together. Voilà. Now you have a groovy Möbius strip. Make as many as you can stand.
Möbius strip Cutting Experiment no. 1
With your pencil, draw a line down the middle of the strip, making a continuous line until you reach the starting point. Take your scissors and cut down this line.
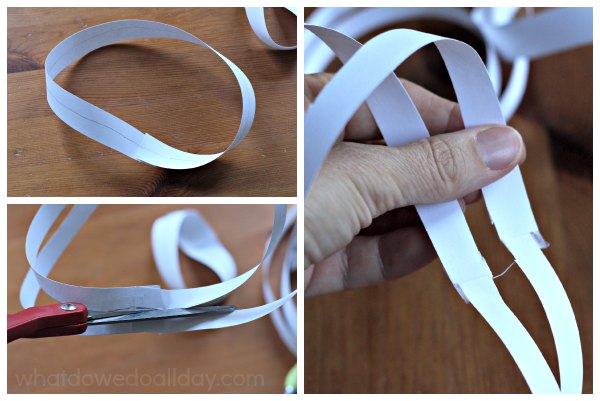
When you reach the end you will be holding the strip as you see in the photo on the right. Do not let go immediately! Ask your kid:
What is going to happen when I pull these apart?
He will answer: "Mom, you get two strips. Duh."
Then, let go.
Listen to your kid say,
Whoa!
I don't want to give away what happens. If you can't stand the suspense, you'll just have to try it yourself. Or, you know, watch my video:
Incidentally, we repeated this experiment by cutting along another line down the middle, and the results were also quite unexpected.
Möbius strip Cutting Experiment no. 2
This time, instead of drawing a line down the middle, make your starting point one third of the way from the edge of the Möbius strip.
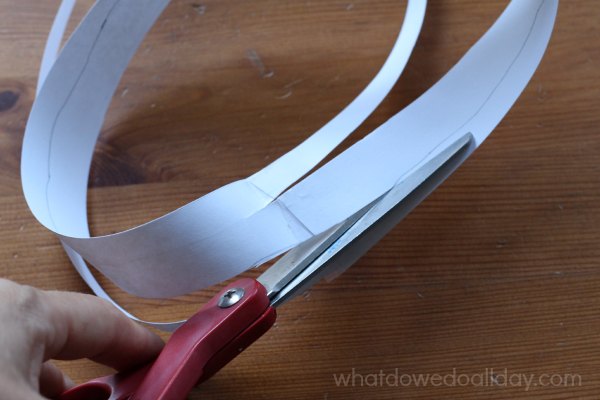
Continue the line until you reach the starting point. You will see (what looks like) two parallel lines on the surface. Cut the strip.
Once again, before making the final snip, ask your kids what will happen.
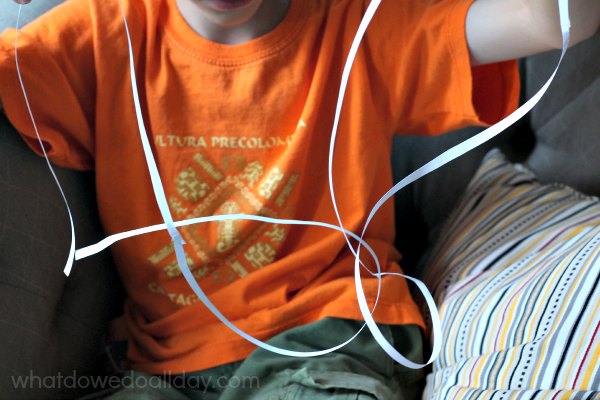
Prepare to be impressed. Cut another line if you dare.
Have you ever played around with Möbius strips?
I can't give away all the secrets but Kiddo was mighty impressed when we reached this creation:
UPDATE! UPDATE! Watch how we turned Mobius strips into HEARTS!


Ana says
LOVE IT! There is nothing cooler than math meeting art!
Erica MomandKiddo says
I agree!
Ann says
Okay, we had to try it, interesting! Then we cut again and again interesting (trying not to give it away). Thanks for the math fun!
Erica MomandKiddo says
So glad you gave it a go! It's pretty cool.
Victoria Nobes says
If you love Maths and Art combined, search for the I am NOT a maths book. It is awesome and we use it a lot in our homeschooling for reluctant mathematicians! We have really enjoyed experimenting with mobius strips today! Try doing a double twist in a strip and see what you make with a single cut! We loved making hearts too, which I see you also went on to do 🙂
Erica MomandKiddo says
I have this book! It's great!